In short:
\n
- \n
- Lighting is the cheapest upgrade in your home, and you barely think about it.
- Swapping old bulbs for LEDs cuts your bill and makes every room look better.
- Get lumens and colour temperature right first, then add sensors to hallways and other spaces you just pass through.
- Automate at the right layer: switches for ceiling fixtures, smart bulbs for lamps.
- Start with the three lights you use most, and they’ll pay you back fast.
\n
\n
\n
\n
\n
\n
\n
You use light more than any other thing in your home. More than the kettle, more than the washing machine, more than the heating. And yet, for most people, lighting is the one system they never really think about — it just works, or it just doesn’t, and that’s the end of it.
\n
Here’s the problem with that. Half the fixtures in a typical home are still doing what they did twenty years ago: burning a lot of electricity, throwing off heat, and casting a flat, greyish light that makes a freshly cleaned kitchen look tired. Swap in the right bulbs and controls, though, and something interesting happens. The rooms look better. The bill drops. You stop thinking about light switches altogether.
\n
This guide covers the whole chain: the bulb itself, the sensors and timers that decide when it comes on, the smart layer that lets you schedule and dim, and the small habits that make all of it stick. No gimmicks, no gadgets you’ll unplug in three weeks. Just the stuff that genuinely earns its place on your ceiling.
\n
What’s in this guide
\n
- \n
- Why lighting is the cheapest upgrade in the house
- LEDs: the five numbers that actually matter
- Sensors, timers and daylight: light that arrives on its own
- Smart bulbs or smart switches? Pick the right layer
- Room-by-room playbook
- Mistakes that quietly cancel your savings
- The two-hour tune-up
- Maintenance, lifespan and when to replace
- A real-world example: one week in a family home
- Frequently asked questions
\n
\n
\n
\n
\n
\n
\n
\n
\n
\n
\n
Why lighting is the cheapest upgrade in the house
\n
Old incandescent bulbs were essentially tiny heaters that happened to glow. Around nine tenths of the energy they pulled went straight out as heat. You were paying to warm your ceiling and getting a bit of light thrown in for free. Halogen lamps were a modest improvement, but they still ran hot enough to scorch a lampshade and to make a small room feel stuffy after an hour.
\n
Do the arithmetic on something small and boring. A hallway with six 60-watt bulbs, left on five hours a day, is a genuinely chunky slice of your annual electricity use — and that’s one hallway. Now multiply it across a kitchen ceiling, a bathroom, two bedrooms, a garage and the outside porch. The number stops being boring.
\n
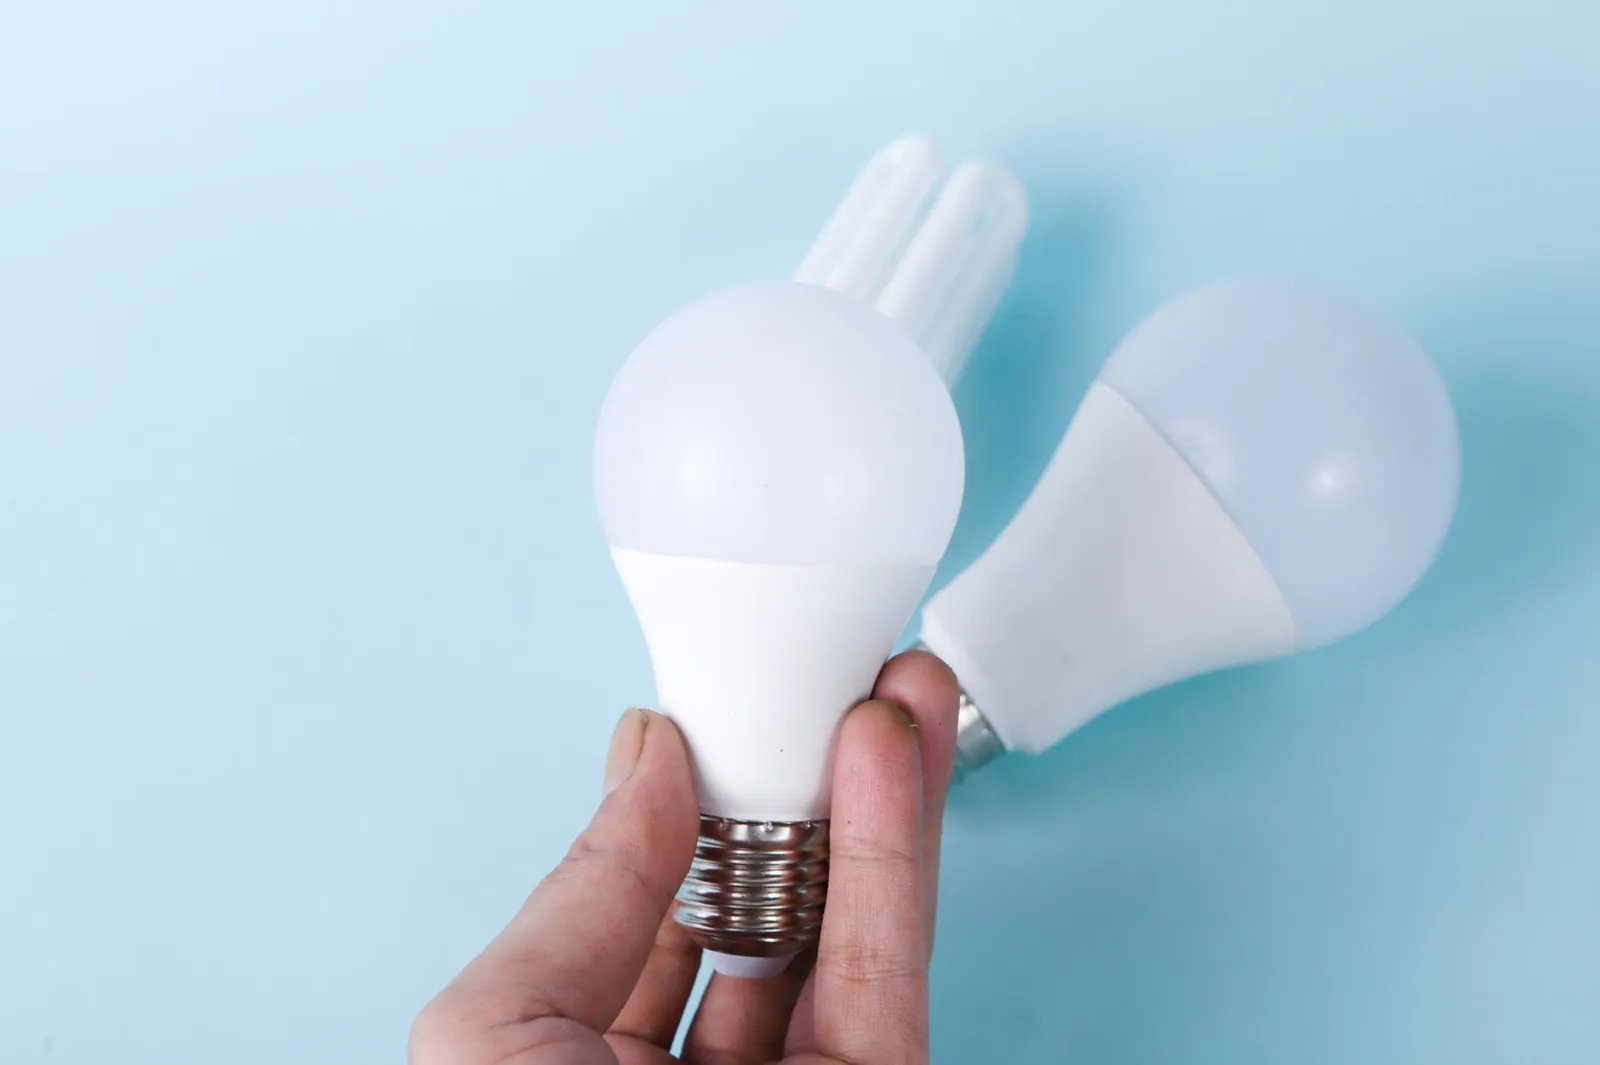
The good news is that the fix is cheap, fast and permanent. Modern light-emitting diodes — LEDs — turn most of what they draw into visible light rather than heat, and they last for years rather than months. I’ve had clients replace a single stubborn fixture and forget about it for the better part of a decade.
\n
But brightness isn’t about watts anymore
\n
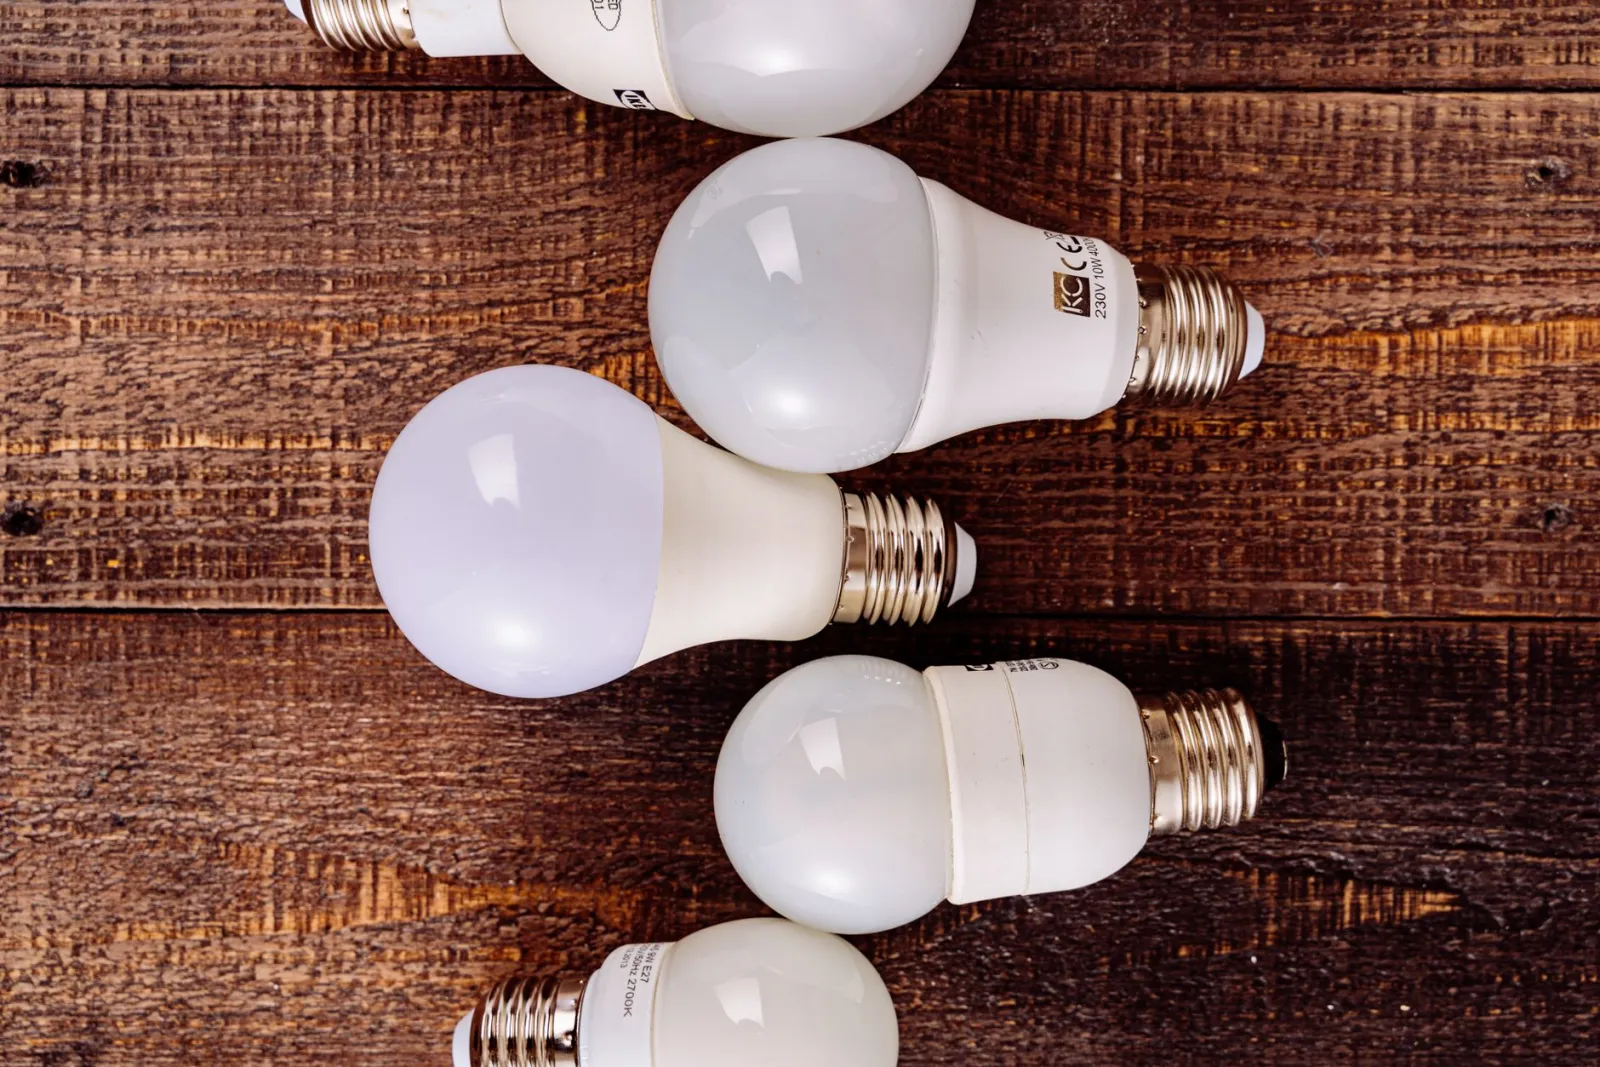
This trips up almost everyone. Watts measure how much power a bulb draws, not how bright it looks. With old bulbs the two happened to move together, so people learned to shop by wattage. With LEDs that link is broken. A 9-watt LED can easily outshine a 60-watt incandescent.
\n
Shop in lumens, not watts. Lumens measure light output. As a rough translation table: around 450 lumens replaces an old 40-watt bulb, roughly 800 lumens replaces a 60-watt, and about 1,100 lumens stands in for a 75-watt. Keep those three numbers in your head and you’ll never buy a disappointment again.
\n
One real case sticks with me. A couple replaced their kitchen halogens with the cheapest LED packs they could find — same wattage as before, they assumed, so same brightness. The room went noticeably dimmer and they blamed LEDs in general for two years. They’d simply bought 350-lumen bulbs where the old ones were throwing out over 900. Wrong number, wrong conclusion.
\n
LEDs: the five numbers that actually matter
\n
Walk down the bulb aisle and every box screams something different. Ignore most of it. Five specifications decide whether you’ll love the result or quietly resent it.
\n
1. Lumens — how much light
\n
Match the lumen output to the job, not to the old wattage. A bedside reading lamp wants 400 to 500 lumens focused where you’re reading. A kitchen worktop wants 800 to 1,100 directly overhead. A hallway can get away with 400 per fixture if there are several of them. Overlighting is as common a mistake as underlighting, and it makes a room feel clinical.
\n
2. Colour temperature — how warm or cold it feels
\n
Measured in kelvin. Around 2,700 K gives you the warm, yellowish glow of a traditional bulb. 3,000 K is a soft, clean white that suits most living spaces. 4,000 K is crisp and slightly cool — good for garages, utility rooms and workspaces. Anything at 5,000 K and above reads as blue-white and belongs in a hospital corridor, not a bedroom.
\n
Here’s the practical rule I give everyone: keep one colour temperature per room, and don’t mix them in the same fixture. A ceiling with three warm bulbs and one cool one looks broken, even though nothing is technically wrong. Buy in multiples from the same batch where you can, because colour can drift slightly between production runs.
\n
3. Colour rendering — how true colours look
\n
Colour rendering index, or CRI, runs from 0 to 100, with daylight at 100. Cheap LEDs sit in the low 80s, which is why some rooms feel slightly grey and why a red shirt can look muddy under them. Anything at 90 or above makes wood, fabric and food look the way they should. In a bathroom mirror, a kitchen worktop or anywhere you dress and check your appearance, spend the extra for 90+.
\n
4. Dimmability — and the dimmer you already own
\n
Not all LEDs dim, and not all dimmers like LEDs. A dimmer designed for incandescent loads can make an LED flicker, buzz, or drop out entirely at low levels. If you’re dimming, check that the bulb says dimmable and that your dimmer is rated for LED loads. Flicker is the single most common complaint I hear, and it’s almost always a compatibility issue rather than a faulty bulb.
\n
5. Beam angle and shape
\n
A narrow spot throws a tight pool of light; a wide flood washes a wall. For recessed ceiling lights, a 60-degree flood is a safe all-rounder. For accenting a picture or a plant, a 25 to 40-degree spot gives you punch without spill. Getting this right is what separates a room that feels designed from one that feels merely lit.
\n
Sensors, timers and daylight: light that arrives on its own
\n
The most efficient bulb in the world still wastes everything if it’s on in an empty room. Controls fix that, and they’re where the real savings hide.
\n
Motion sensors switch a light on when something moves and off after a set delay. They’re perfect for spaces you pass through: hallways, stairwells, garages, laundry rooms, walk-in closets. Set the hold time to something realistic — two to five minutes in a hallway, ten in a garage where you’re loading the car.
\n
Occupancy sensors do the same job but are more sensitive, picking up small movements like someone sitting still at a desk. They suit offices, home workspaces and bathrooms, where a basic motion sensor would switch the light off while you’re still in the room.
\n
Daylight sensors — photocells — read the ambient light level and stop a fixture from coming on when there’s already enough natural light. Pair one with a motion sensor on an outdoor porch or a south-facing hallway and you get light only when it’s both dark and occupied. That combination is the single most effective control setup you can install.
\n
Timers are the blunt instrument of the family, and there’s nothing wrong with that. A simple plug-in timer on a lamp that comes on at dusk and off at bedtime gives you the lived-in look of a home that’s occupied, without leaving anything burning all night.
\n
Where sensors actually pay off — and where they don’t
\n
Sensors earn their keep in circulation spaces: hallways, stairs, garages, basements, utility rooms, closets, outdoor paths. These are rooms where lights get left on by accident and where nobody needs the light for long stretches.
\n
They’re a poor fit for living rooms and bedrooms, where you sit still for long periods and a sensor will either switch off on you or force you to wave your arms like a traffic controller. In those rooms, a smart switch or a simple dimmer does more for you than any sensor ever will.
\n
Smart bulbs or smart switches? Pick the right layer
\n
This is the decision that trips up most people, and getting it wrong is expensive. The rule is simple: automate at the layer that matches the fixture.
\n
Smart bulbs make sense for lamps — table lamps, floor lamps, bedside lamps — anything plugged into a socket that you want to control individually, dim, or change colour. They’re also the right choice if you rent and can’t touch the wiring.
\n
Smart switches make sense for ceiling fixtures, recessed lighting and anything controlled by a wall switch. One smart switch controls every bulb on that circuit, which is far cheaper than buying six smart bulbs for a six-bulb ceiling. It also keeps working if someone flips the wall switch — the classic failure mode of smart bulbs, where a guest turns off the switch and your whole automation dies until you notice.
\n
Here’s the mistake to avoid: don’t put smart bulbs on a circuit controlled by a regular wall switch. Every time someone flips that switch, the bulb loses power and drops off the network. You’ll spend more time reconnecting bulbs than enjoying them.
\n
If you want both worlds, the clean setup is smart switches for the ceiling and smart bulbs for the lamps, all on the same app or hub. That gives you schedules, scenes and voice control without fighting the wiring.
\n
Room-by-room playbook
\n
Different rooms have different jobs, and the right setup changes with them.
\n
- \n
- Hallway and stairs: motion sensor, warm white, 400 lumens per fixture, two to five minute hold. This is the highest-return upgrade in the house.
- Kitchen: bright, high-CRI light over the worktop. 800 to 1,100 lumens, 3,000 to 4,000 K, CRI 90+. Under-cabinet strips make a bigger difference than a brighter ceiling.
- Living room: layered light — a warm ceiling fixture plus two or three lamps on dimmers or smart bulbs. Never rely on one bright overhead light.
- Bedroom: warm, low-level light. 2,700 K, dimmable, no sensors. A bedside lamp on a smart bulb gives you a slow fade-out at bedtime.
- Bathroom: bright at the mirror, warm overhead. CRI 90+ at the mirror so you can see what you’re actually doing.
- Garage, basement, utility: motion sensor, cool white, generous hold time. Nobody wants to fumble for a switch with their hands full.
- Outdoors: motion sensor plus daylight sensor, so the light only comes on when it’s dark and someone’s there.
\n
\n
\n
\n
\n
\n
\n
\n
Mistakes that quietly cancel your savings
\n
You can do everything right on paper and still see no difference on the bill. These are the culprits.
\n
- \n
- Leaving the old dimmer in place. An incompatible dimmer makes LEDs flicker, and flicker makes people give up and go back to what they had.
- Buying by wattage. The single most common error. Buy by lumens.
- Mixing colour temperatures in one room. It looks wrong, and it makes people buy more bulbs trying to fix a problem that isn’t about brightness.
- Setting sensor hold times too short. A hallway light that clicks off while you’re still walking through it is worse than no sensor at all.
- Overlighting. More lumens isn’t better. It’s just more electricity and a harsher room.
- Forgetting the outside lights. A porch light left on all night, every night, is one of the biggest silent drains in a home.
\n
\n
\n
\n
\n
\n
\n
The two-hour tune-up
\n
You don’t need to redo the whole house. You need to fix the three lights you use most, and the ones that get left on by accident.
\n
- \n
- Walk the house at night with the lights on. Note every fixture that’s on in an empty room. Those are your targets.
- Count the bulbs in your three most-used fixtures. Kitchen ceiling, living room, hallway. Write down the lumen output you want for each.
- Replace those bulbs first. Match lumens and colour temperature, keep one temperature per room.
- Check your dimmers. If anything flickers, the dimmer is the problem, not the bulb.
- Add a motion sensor to the worst offender. Usually the hallway, the stairs or the garage.
- Put the porch light on a daylight sensor or timer. This alone can be a noticeable change.
- Only then consider smart bulbs or switches. Start with lamps, then ceiling fixtures if you want schedules and scenes.
\n
\n
\n
\n
\n
\n
\n
\n
Two hours, one trip to the shop, and the difference is immediate — both in how the rooms feel and in what you stop paying for.
\n
Maintenance, lifespan and when to replace
\n
One of the quiet advantages of LEDs is that they need almost nothing from you. There’s no filament to burn out, no glass envelope to crack, no heat to worry about. But “almost nothing” isn’t the same as nothing, and a few habits will keep a lighting setup running well for years.
\n
What actually wears an LED out
\n
LEDs don’t fail the way incandescents did. They dim slowly over time, and the thing that kills them fastest is heat. That sounds counterintuitive, since LEDs run cool to the touch — but the electronics inside them still generate heat, and that heat has to escape. A bulb crammed into a fully enclosed fixture with no airflow will run hotter and fade sooner than the same bulb in an open fitting. If you have recessed cans with insulation packed right over them, or a sealed glass globe with no vent, expect a shorter life than the box suggests.
\n
The second factor is the driver — the small electronic circuit that converts your home’s power into what the LED needs. Drivers are usually the first thing to go, and when they do, the bulb either flickers, buzzes, or dies outright. Cheap bulbs tend to have cheap drivers. This is one of the few places where paying a little more genuinely buys you a longer life.
\n
Smart bulbs and sensors add their own wear points. A smart bulb is a small computer, and it stays partly awake to listen for commands. That constant low-level activity, plus the heat of the radio, means smart bulbs often don’t last as long as a plain LED of the same quality. Sensors have a similar issue: the detection element and the relay inside them wear out, and a sensor that starts triggering randomly or refusing to switch off is usually at the end of its life.
\n
Signs it’s time to replace
\n
You don’t need to replace anything on a schedule. Replace when you see one of these:
\n
- \n
- Visible flicker or a faint strobe that wasn’t there before. Often the driver, sometimes the dimmer — check the dimmer first.
- A noticeable drop in brightness compared to an identical bulb nearby. That’s the LED fading, and it won’t come back.
- A colour shift. A bulb that has drifted pink, green or noticeably cooler than its neighbours is on its way out.
- A buzzing or humming sound that gets worse over time.
- A sensor that triggers with nothing moving, or that fails to switch off. Both mean the detection element is failing.
- A smart bulb that keeps dropping off the network even after a reset. The radio is usually the culprit.
\n
\n
\n
\n
\n
\n
\n
Simple maintenance that pays off
\n
There isn’t much to do, but what there is, is worth doing:
\n
- \n
- Dust the fixtures and the bulbs. A layer of dust on a diffuser or a bulb can cut the light output noticeably, and it makes a room feel dimmer than it is. A quick wipe every few months restores it.
- Keep vents and gaps clear. If a fixture has ventilation slots, don’t block them. Airflow is what keeps the driver cool.
- Don’t over-tighten bulbs. Hand-tight is enough. Forcing a bulb can damage the socket or the contacts.
- Check sensor lenses. A motion sensor with a dusty or painted-over lens will under-perform. A wipe with a dry cloth fixes most “faulty” sensors.
- Update smart bulb firmware if the app offers it. Manufacturers fix connectivity bugs this way, and it costs you nothing.
\n
\n
\n
\n
\n
\n
The honest summary: a well-chosen LED in a well-ventilated fixture will outlast the fixture itself in many cases. A cheap LED in a sealed can, or a smart bulb in a hot enclosed fitting, will not. Match the bulb to the fixture and you’ll rarely think about it again.
\n
A real-world example: one week in a family home
\n
To see how all of this adds up, picture a typical three-bedroom house with two adults and two children. Nothing unusual — a kitchen, a living room, a hallway, a bathroom, three bedrooms, a garage and a front porch. Before any changes, the lighting is a mix of whatever was in the fixtures when they moved in: a few old halogens in the kitchen, incandescents in the hallway, and a porch light that gets left on all night because nobody wants to come home to a dark house.
\n
Monday evening. The hallway light is on from the moment the first person gets home until the last person goes to bed, because it’s the only way to see the stairs. That’s several hours of six bulbs burning for maybe twenty minutes of actual use. The kitchen halogens are on while dinner is cooked, and stay on through the meal and the cleanup.
\n
Tuesday. Someone leaves the garage light on after taking out the recycling. It stays on until the next morning, when it’s noticed. That’s a full night of light in an empty room.
\n
Wednesday. The porch light is on again, as it is every night. It’s doing its job — the house looks occupied — but it’s also running from dusk to dawn regardless of whether anyone is coming or going.
\n
Thursday. A child leaves a bedroom light on and goes downstairs. It stays on for two hours before anyone notices. Nobody’s fault, just the reality of a busy household.
\n
Friday. The bathroom light is on while someone’s in the shower, then left on for another twenty minutes while they get dressed elsewhere.
\n
None of this is dramatic. There’s no single moment where money is pouring out of the house. That’s exactly why it goes unnoticed — it’s a slow accumulation of small, ordinary habits.
\n
Now run the same week with a few changes in place. The hallway has a motion sensor, so the light comes on when someone walks through and goes off a few minutes later. The garage has the same. The porch light is on a daylight sensor, so it only comes on when it’s actually dark. The kitchen has LEDs matched to the worktop, so they’re brighter where it matters and use a fraction of what the halogens did. The bedrooms have warm, dimmable LEDs, and the bathroom has a high-CRI bulb at the mirror.
\n
Nothing about the family’s routine has changed. They still cook, shower, come home late, forget things. But the lights that used to burn in empty rooms now switch themselves off, and the ones that stay on use far less power. The difference isn’t one big saving — it’s the same small savings, repeated every day, across every room, without anyone having to remember anything.
\n
That’s the real lesson. Energy savings from lighting rarely come from a single clever gadget. They come from removing the handful of habits that quietly waste light, and letting the controls handle the rest.
\n
Frequently asked questions
\n
Does a sensor bulb save electricity?
\n
A sensor bulb — a bulb with a built-in motion detector — saves electricity in the same way any sensor does: by switching itself off when nobody’s around. The saving depends entirely on how often the light would otherwise have been left on. In a hallway, a stairwell or a garage, where lights get left on by accident, the saving is real and noticeable. In a room where you’re sitting still for long periods, a sensor bulb is a poor fit and won’t save much, because the light is on whenever you’re there anyway. The bulb itself uses a tiny amount of power to run the sensor, but that’s negligible compared to the light it controls.
\n
Do smart bulbs save electricity?
\n
Smart bulbs save electricity mainly through the behaviours they enable, not through the bulb itself. A smart bulb that’s on uses roughly the same power as an equivalent plain LED. The savings come from schedules, timers, dimming and remote control — turning lights off automatically when you leave, dimming them when full brightness isn’t needed, and making sure nothing stays on all night by accident. If you install smart bulbs and never use those features, you won’t save anything. If you use them, the savings are real, especially in rooms where lights are frequently forgotten.
\n
Do LED light bulbs save on electricity?
\n
Yes, and this is the most straightforward saving of the lot. LEDs convert most of the electricity they draw into visible light rather than heat, so they use far less power than incandescent or halogen bulbs for the same brightness. The exact saving depends on what you’re replacing and how long the light is on, but the direction is never in doubt: an LED always uses less power than the old bulb it replaces. The bigger variable is how long the light stays on — which is why pairing LEDs with sensors and timers multiplies the benefit.
\n
How much does it cost to run a LED bulb for 1 hour?
\n
It depends on the bulb’s wattage and your local electricity rate, so there’s no single number. But the arithmetic is simple: take the bulb’s wattage, divide by 1,000 to get kilowatts, and multiply by your price per kilowatt-hour. A typical LED bulb draws a small fraction of what an equivalent incandescent would, which is why the running cost per hour is so low. The practical takeaway isn’t the exact figure — it’s that the cost of leaving an LED on is small enough that the real waste comes from leaving lights on in empty rooms, not from the bulbs themselves.
\n
Are sensor bulbs and smart bulbs worth it in every room?
\n
No. They’re worth it in circulation spaces — hallways, stairs, garages, utility rooms, porches — and in rooms where lights get forgotten. In living rooms and bedrooms, where you sit still for long stretches, a sensor will either switch off on you or force you to keep moving. In those rooms, a dimmer or a smart switch does more for you than a sensor ever will.
\n
Do I need a hub to use smart bulbs?
\n
Not always. Many smart bulbs connect directly to your home Wi-Fi and are controlled through an app, with no hub required. Others use a low-power wireless protocol and need a hub or bridge to talk to your network. The trade-off is usually range and reliability versus simplicity. If you only want a few bulbs on schedules, a hub-free setup is fine. If you want a whole house of sensors, switches and bulbs working together reliably, a hub tends to be the more stable choice.
\n
The bottom line
\n
Lighting is the easiest place to start saving energy, because the fix is cheap, permanent and immediately visible. Get the bulbs right first — lumens, colour temperature, colour rendering — then add controls where they actually help. Sensors in hallways and garages. Daylight sensors on outdoor lights. Smart switches for ceiling fixtures, smart bulbs for lamps. And a handful of habits that stop light from burning in empty rooms.
\n
If you’re ready to put this into practice, our guide on choosing the right smart bulbs for every room walks through what to look for before you buy.
\n\n
To choose the right model : Smart Thermostats vs Programmable: Energy Savings Compared
\n
\n
Work out your own case in 30 seconds:
\n
\n
\n
\n
\n