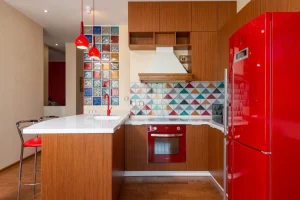
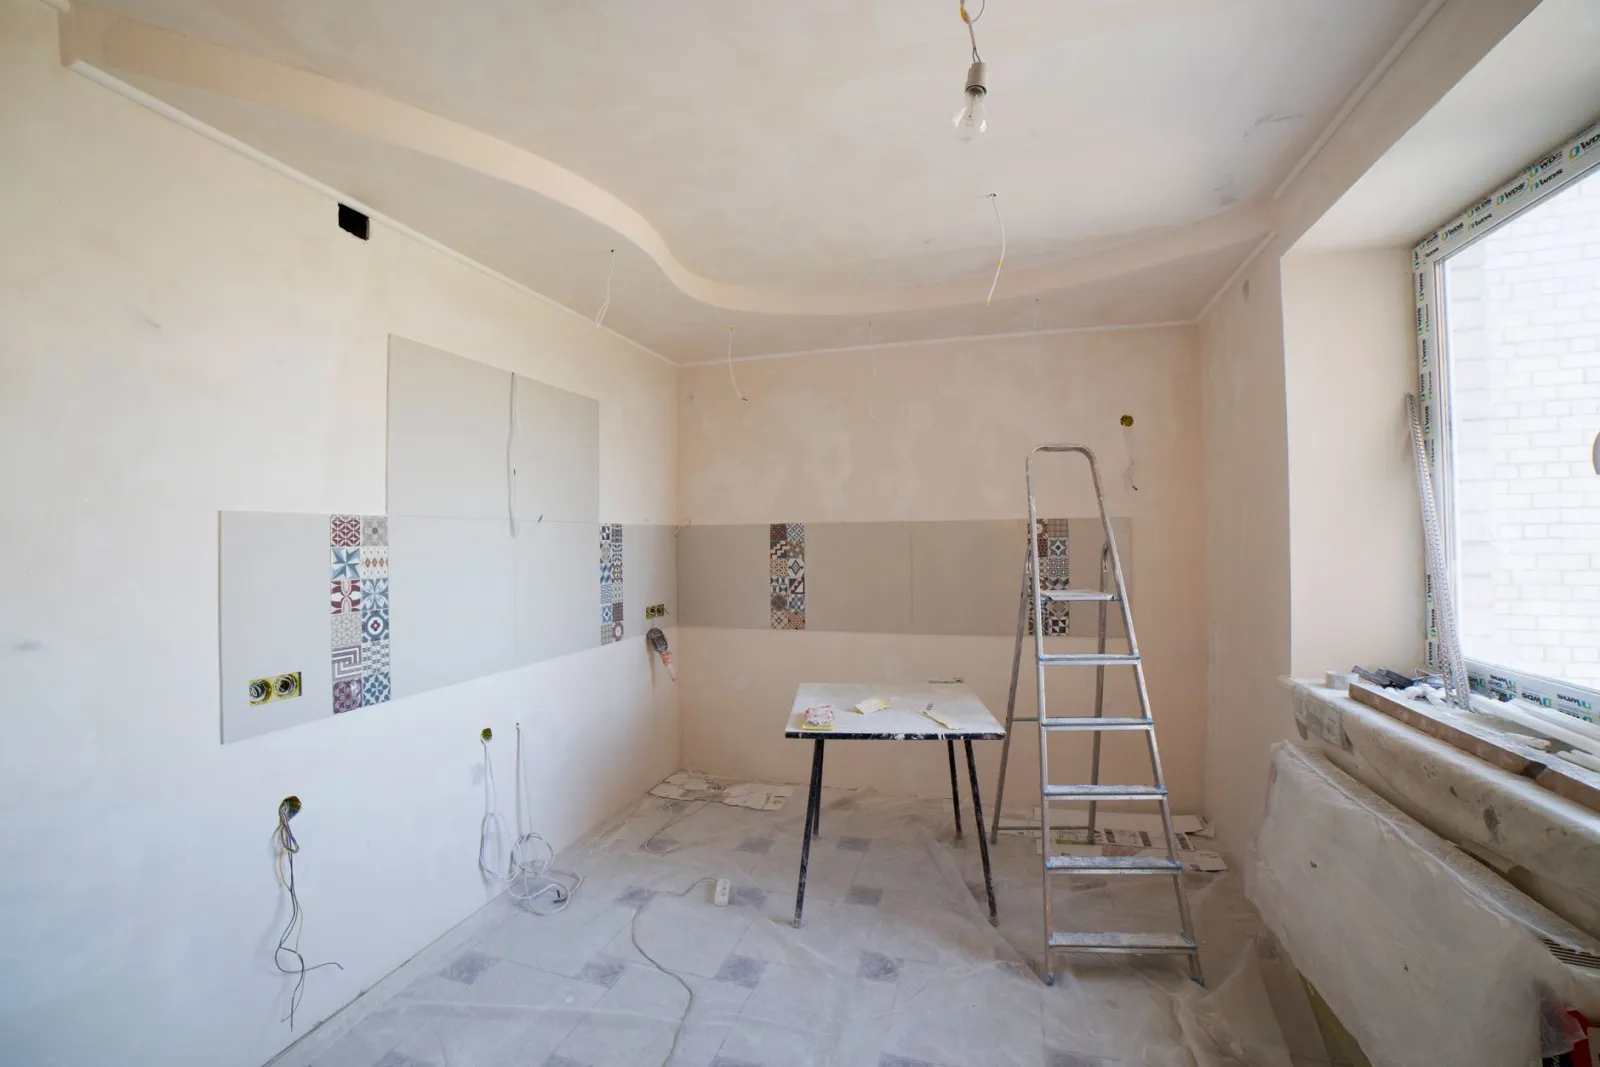
Short answer : Cheap kitchens are achievable by focusing on the elements that carry the most visual and functional weight: cabinet fronts, worktops, lighting, and hardware. Instead of replacing entire units, you can refresh doors and drawers, add a durable laminate or butcher-block surface, and upgrade handles and hinges for a fraction of a full remodel. Planning around standard cabinet sizes and keeping the existing layout also avoids costly plumbing and electrical changes. Careful sequencing, such as buying end-of-line stock and doing demolition yourself, stretches the budget further without compromising the result.
In short
- Refresh cabinet doors and drawers instead of replacing whole units to cut costs significantly.
- Choose laminate or butcher-block worktops for durable, budget-friendly surfaces that still look good.
- Keep the existing layout to avoid expensive plumbing and electrical relocation work.
- Upgrade handles, hinges, and lighting for a high-impact change at low cost.
- Buy end-of-line or surplus stock and handle demolition yourself to stretch the budget.
How to Define Your Cheap Kitchen Budget
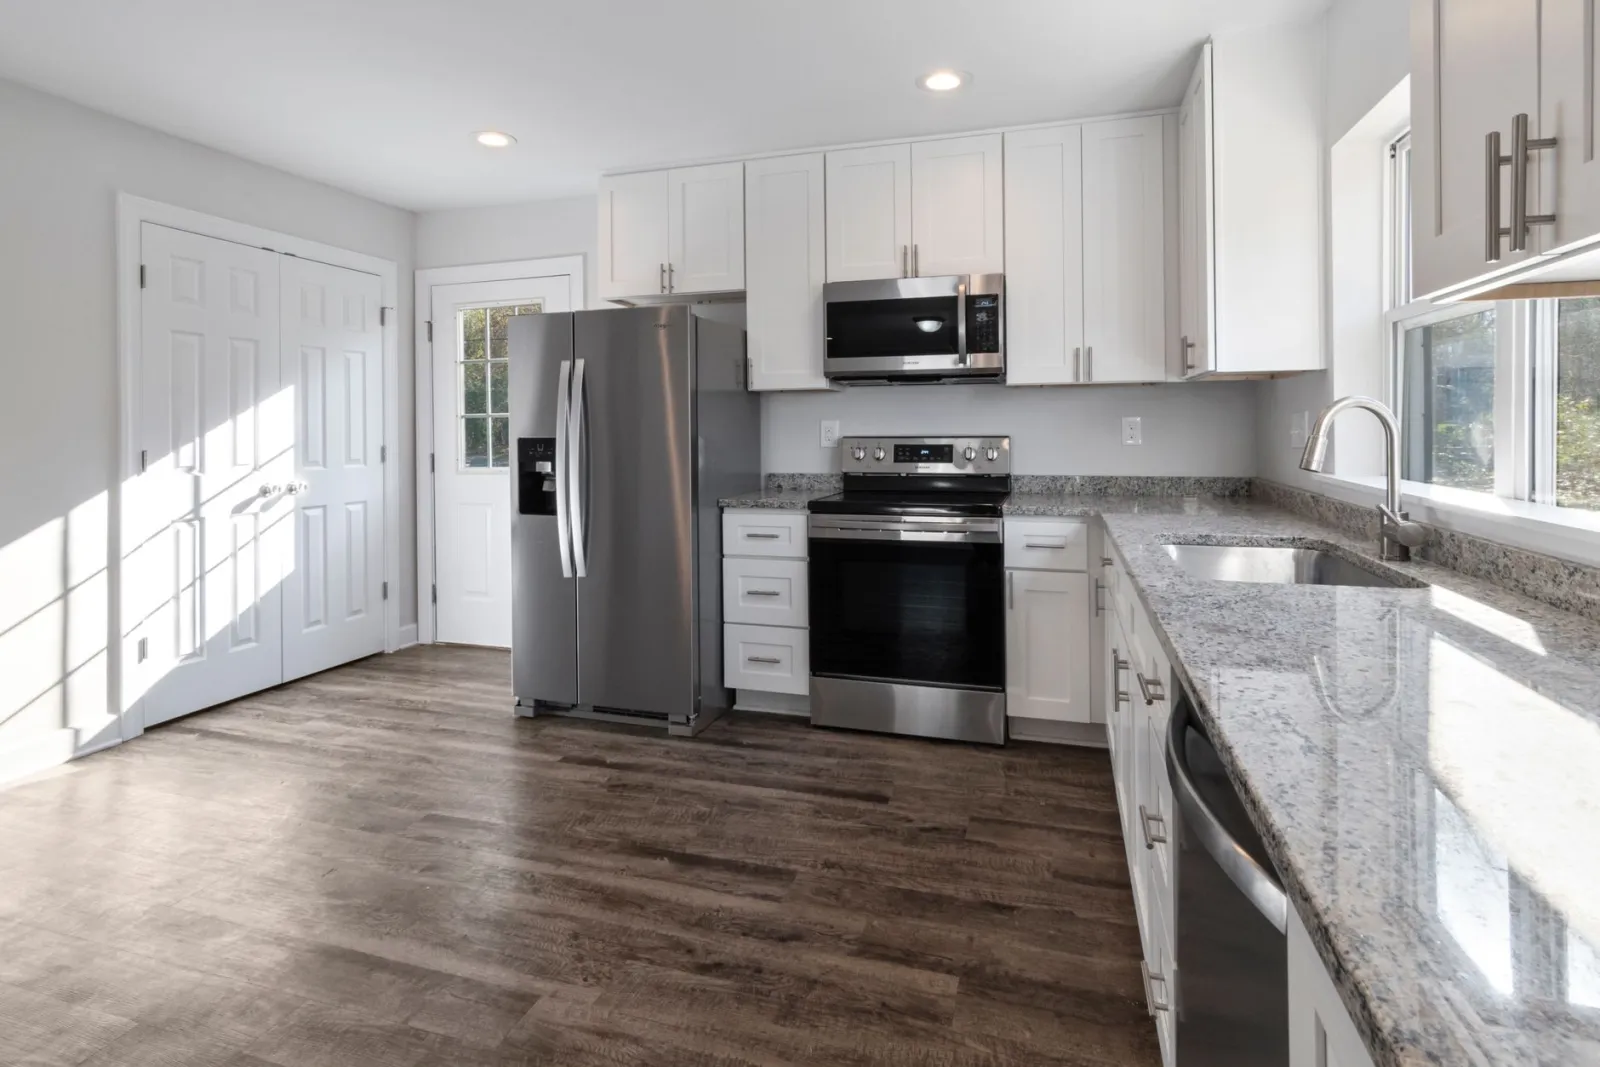
Defining a cheap kitchen budget starts with separating what you must spend from what you can choose to spend. A kitchen has fixed costs you cannot avoid if the room is to function: safe wiring, plumbing for the sink, secure worktops, and adequate storage. It also has variable costs where cheap choices are genuinely possible: door fronts, handles, splashbacks, lighting, and decorative finishes. Before looking at a single item, write down the non-negotiables for your household and treat their cost as the floor of your budget. Everything above that floor is where you make trade-offs, and knowing the difference prevents you from cutting corners on the parts that are expensive to redo later.
A practical way to size the budget is to work room by room rather than item by item. Estimate the carcasses and worktop first, since these carry most of the structural cost and are hard to change once installed. Then add doors and drawer fronts, which are the most visible element and the easiest place to save by choosing simpler materials or standard sizes. Finally, allocate for installation, delivery, and the small fittings that quietly add up. If you price the big structural pieces before the finishes, you avoid the common mistake of overspending on a striking worktop and then having nothing left for hinges, sealant, and the electrician.
Set a contingency that reflects how much you are changing. A like-for-like refresh of doors and worktops carries less risk than moving a sink, adding circuits, or removing a wall, because surprises tend to hide behind old units and under floors. Keep a reserve for the unexpected, and decide in advance what you will cut if the reserve is needed: often the answer is a simpler splashback, open shelving instead of extra cabinets, or keeping existing appliances that still work. Deciding your fallback options before work begins keeps you from making rushed compromises mid-project.
Match the budget to how long you intend to stay and how you use the room. A short-term rental or a first home may justify a functional, low-cost layout with standard-size units and durable but plain finishes. A family kitchen used daily for cooking and homework deserves more spent on robust worktops, good task lighting, and storage that suits how you actually move around the room. Be honest about which upgrades change daily life and which only change appearance, and fund the former first.
Finally, convert your budget into a written plan with a target figure, a ceiling you will not exceed, and a short list of priorities in order. Review quotes against that plan rather than against each other, so a low headline price does not pull you toward options you did not need. A budget you can explain, line by line, is the strongest protection against a cheap kitchen that becomes an expensive one.
Choosing Affordable Cabinet Materials Wisely
Cabinet material choice is where a cheap kitchen is won or lost. Doors and drawer fronts cover most of the visible surface, so the material you pick drives both the look and the durability of the whole room. The goal is not the cheapest option on the shelf but the least expensive material that still suits how the kitchen will be used. A solid-wood door and a painted MDF door can look similar on day one; they age very differently over five or ten years of steam, grease, and knocks.
MDF is the workhorse of budget cabinetry. It is dense, smooth, and takes paint or a veneer evenly, which makes it a good base for a sprayed finish in a modern, flat-panel style. Its weakness is moisture: in a steamy kitchen, unprotected edges and cut-outs can swell if water gets in, so sealed edges and a moisture-resistant grade matter more than the board itself. MDF is a sensible choice for upper cabinets and drawer fronts in a dry, well-ventilated kitchen, less so for the run directly beside a hob or sink where splashes are constant.
Particleboard, often sold as chipboard, is the cheapest core and is fine for carcase panels and shelves that carry light loads, provided the edges are properly banded. It is heavier and less stiff than MDF and sags over time under heavy stacks of plates, so use it where spans are short or where a mid-support is built in. Plywood costs more but resists moisture and holds screws far better, which makes it the material to favour around sinks, dishwashers, and any cabinet that will be opened and closed many times a day.
Solid wood is the premium option and rarely the cheap one, but it earns its place on drawer fronts and exposed end panels where a painted or veneered board would look thin. Where budget is tight, a mixed approach works well: plywood or moisture-resistant board for the carcases and wet zones, MDF for painted doors, and a solid-wood trim only where it shows. This spreads the spend to the parts that take the most wear rather than paying for solid timber behind closed doors.
Finish and hardware decide whether a modest material lasts. A factory-applied lacquer or melamine face resists staining better than a site-painted surface, and good hinges and runners protect the board from the stress of daily use. When comparing quotes, ask what the carcase, door, and edge banding are made of separately, because a low headline figure often hides a thin board or unsealed edges that will fail first.
Comparing Laminate and Vinyl Worktops
Laminate and vinyl are the two worktop surfaces most often shortlisted for a budget kitchen, and they overlap enough that the choice can feel arbitrary. The distinction that matters most is construction. Laminate is a thin decorative layer bonded to a rigid core, usually particleboard or chipboard, which gives it a firm, solid feel and good resistance to impact. Vinyl worktops, often sold as a wrapped or foil finish over a similar core, have a slightly softer, more forgiving surface and a seamless-looking edge where the covering wraps around the profile. Neither is a premium material, but each behaves differently under daily use.
On water resistance, vinyl has the edge. Because the decorative layer wraps the core rather than sitting on top of it, there are fewer exposed seams for moisture to exploit, which suits sinks, dishwashers and areas prone to splashes. Laminate is perfectly serviceable when joints and edges are properly sealed, but an unsealed cut edge or a lifted seam is where swelling starts, and once a chipboard core takes on water it does not recover. In a busy family kitchen or a rental where maintenance is minimal, that difference in tolerance is worth weighing.
Heat tells a similar story. Both surfaces dislike direct contact with hot pans, and trivets are non-negotiable on either. Laminate tends to fare slightly better against brief accidental contact, while vinyl can mark or blister more readily, so a vinyl top placed right beside a hob needs a little more care in daily routine. For a kitchen where cooking is frequent and hurried, that small margin may tip the decision toward laminate.
Appearance and finish choice is where laminate clearly wins. It comes in a far wider range of colours, patterns and textures, including convincing stone and wood effects, and the surface holds a sharper print. Vinyl tends to offer a more limited palette, often with a softer sheen. If the worktop is a visible design feature in an open-plan space, laminate gives more room to match cabinetry and flooring.
Cost and lifespan sit close together. Both are among the least expensive worktop options, and the gap between them is usually modest rather than decisive, so the choice should rest on use rather than price alone. Expect either to serve well for years in a lightly used kitchen, with laminate holding up better to knocks and vinyl better to damp. A practical rule: choose vinyl for splash-heavy zones and tighter budgets, laminate where durability against impact and a broader finish choice matter more.
Where to Save and Where to Spend
The logic of a tight budget is not to spend the least everywhere, but to move money toward the parts of a kitchen that are expensive or disruptive to change later. The easiest savings come from anything you can swap out without touching plumbing, wiring, or the structure of the room. Cabinet doors and drawer fronts, handles, open shelving, a freestanding island, lighting fixtures, and paint are all reversible decisions. If a choice can be undone on a weekend without a tradesperson, it is a good candidate for the cheaper option. If undoing it means breaking tiles, moving pipes, or rerouting cables, it is a good candidate for spending more.
Spend first on the carcasses and the layout. Cabinet boxes carry the doors, hold the weight, and set the dimensions the rest of the kitchen depends on. A sturdy box with a modest door will outlast a flimsy box with a premium door, and replacing boxes later means emptying the kitchen and starting over. The same applies to the work triangle between sink, hob, and fridge: getting the distances and clearances right costs nothing extra at the planning stage and is painful to correct afterwards. A slightly higher outlay on solid carcasses and a well-considered plan is the best-value decision in the whole project.
Worktops sit in the middle. Laminate is the budget default and performs well if you accept that heat and knife marks are part of its life; a chopping board and trivets protect it. Where the worktop meets the sink and hob, spend a little more on accurate cutting and sealing rather than on the material itself, because water ingress at the edges is what shortens a cheap worktop’s life. If you cook heavily and prep directly on the surface, a mid-range surface may be worth the step up; if the kitchen is mostly for reheating and light meals, laminate frees budget for elsewhere.
Save on appliances by buying for function rather than finish. A basic oven with reliable heat and a simple hob do the job; integrated models and matching suites cost more for appearance. Buy the extraction hood and the fridge at the level you actually need, and put the savings into the carcasses. Similarly, save on decorative elements: open shelving instead of wall cabinets, a single statement light instead of a grid of downlights, and paint instead of tiling a full splashback. These choices are visible, easy to change, and cheap to get wrong.
Spend on installation quality and on the things you touch daily. Poor fitting shows up in misaligned doors, gaps at the worktop, and leaks, and it undermines every penny saved on materials. Handles, drawer runners, and hinges are handled constantly, so a modest upgrade there is felt every day. The rule of thumb: save on surfaces and style, spend on structure, fitting, and the hardware you operate.
Buying Second-Hand Kitchen Units Safely
Buying second-hand kitchen units can cut the cost of a refit dramatically, but the savings only hold up if the carcasses and doors are sound. Start by asking why the units are being sold. A genuine renovation, a house clearance, or a change of layout usually means the units were working until recently. Be more cautious when a seller cannot explain the origin, when the listing shows the same units repeatedly, or when the description is vague about condition. Ask for the original retailer or manufacturer name if known, the approximate age, and the exact dimensions of each cabinet, since second-hand stock rarely matches standard sizes and a few centimetres of difference can break a run.
Inspect the carcass before anything else. Look for swollen or crumbly chipboard around the base and behind the sink area, which signals past water damage that will only worsen. Check that the back panels are intact and that the unit is square by measuring both diagonals; a carcass that has twisted will not sit flush against a wall or accept a new door cleanly. Open and close every drawer and door, and examine the hinges and runners for rust, missing screws, or cracked mounting plates. Hardware is replaceable, but torn screw holes in the carcass are not, so press gently on each hinge plate to see whether it moves.
Doors and drawer fronts deserve separate scrutiny. Solid timber can be sanded and refinished, which makes worn faces a reasonable gamble, while veneered or foil-wrapped fronts that have lifted, bubbled, or chipped at the edges are difficult to repair invisibly. Check that all doors are present and that the pair count matches the carcasses, because sourcing a single matching door later is often impossible. If the units come with a worktop, confirm whether it is included in the sale and whether it has been cut for a sink or hob, as cut worktops limit where they can be reused.
Practical logistics decide many second-hand purchases. Measure doorways, stairwells, and lifts before committing, since a tall larder unit may not pass a tight turn even when the room itself is large. Transport costs and the labour of dismantling and reassembling can erode the saving, particularly for heavy solid units. A sensible use case is a utility room, garage, or rental property where matching a specific style matters less than solid function; another is a short run of base units for a small galley kitchen where a handful of good carcasses plus new doors gives a fresh look at modest cost. Pay on collection where possible, inspect in person rather than from photos alone, and treat any unit you cannot examine as a risk rather than a bargain.
Flat-Pack Kitchens: Pros and Cons
Flat-pack kitchens occupy a distinctive middle ground in the budget kitchen market: they arrive as a set of panels, boards, and hardware that you or a fitter assemble on site, rather than as a pre-built carcass. The main draw is straightforward. Because you are not paying for factory assembly or for the volume of a fully built unit, the upfront material cost tends to sit below equivalent rigid or bespoke options, and the flat-pack format packs down small, so delivery and handling are simpler, especially for upper-floor flats or awkward access routes. For a tight budget, that combination of lower unit cost and easier logistics is often what makes a full kitchen replacement feasible at all.
The trade-off is labour. Flat-pack shifts assembly work onto you, and that work is real: levelling cabinets, squaring carcasses, aligning doors and drawers, and fitting worktops all take time and a reasonable set of tools. If you are handy and have a clear weekend or two, the savings can be substantial relative to paying a joiner for the same result. If you are not, the cost of hiring a fitter to assemble and install can erode much of the price advantage, so it is worth getting a fitting quote before committing. The honest calculation is not the pack price alone but the pack price plus the labour to make it right.
Quality within flat-pack varies widely, and the specification is where your money should go. Look at carcass thickness and the material of the boards, the type and number of hinges and drawer runners, and whether the units come with adjustable legs and a proper edging finish. Cheap board and flimsy runners are the usual failure points, and they show up within a few years of daily use. Spending a little more on hardware and carcass construction is usually smarter than upgrading door fronts, which are mostly cosmetic.
Flat-pack suits certain use cases particularly well. It is a strong fit for rental properties, first homes, and secondary spaces such as utility rooms or annexes, where a functional, tidy kitchen matters more than a statement design. It also works for anyone with an unusual room shape, because modular units can be combined and trimmed to fit awkward corners more readily than fixed layouts. It is a weaker fit for very large or highly customised kitchens, where the assembly effort multiplies and a professional fit becomes harder to avoid.
Finally, consider the practicalities of buying flat-pack. Check what the pack includes, since worktops, plinths, and appliances are often sold separately and can quietly add to the total. Confirm the returns policy and lead times, and make sure you have storage space for the flat packs before installation day. Assembled carefully and specified sensibly, a flat-pack kitchen can deliver a solid, serviceable result on a modest budget; assembled hastily with weak hardware, it will show its compromises quickly.
Simple Layouts That Cut Kitchen Costs
The shape of a kitchen drives its cost more than any single material choice, because layout determines how much cabinetry, countertop, plumbing and electrical work the room requires. A compact, single-run layout along one wall concentrates services in one place, so plumbing for the sink and wiring for appliances stay close together and the run of cabinets and worktop stays short. A galley arrangement with two parallel runs adds a second bank of units but keeps the work triangle tight and often fits narrow rooms that would otherwise need structural work. An L-shape uses a corner efficiently and typically needs less cabinetry than a full U-shape while still separating washing, cooking and preparation zones. The U-shape and island layouts demand the most units, the most worktop and usually the most trade time, so they are the first candidates to simplify when the budget is tight.
Keeping the sink and cooker on the same wall, or at least sharing a plumbing and wiring route, avoids long pipe runs, extra isolation points and additional electrical circuits. Moving a sink or a cooker to the opposite side of a room is one of the quiet cost drivers in a renovation, since it pulls in plumbing alterations, possibly new drainage falls and additional electrical work. Where the existing service positions can be retained, the layout should be built around them rather than the other way round.
Fewer corners and fewer junctions mean fewer awkward cabinet units, less cutting of worktops and faster installation. A straight run with a single return is quicker to fit than a layout with multiple internal and external corners, and standard-width units fill a straight wall with less waste and fewer made-to-measure fillers. Designing around standard cabinet widths, rather than forcing a run to end exactly at a wall, reduces the bespoke elements that push up the price.
Open-plan layouts that combine cooking, dining and living space can look generous but often require more cabinetry to define the kitchen zone, plus extraction and lighting over a larger area. A defined kitchen footprint with a clear boundary usually needs less of everything. For small or awkward rooms, a single-run or galley layout with tall units at one end for storage often delivers more usable function per pound spent than an island that eats floor space and adds cost.
The practical rule is to choose the simplest layout that supports how the room is actually used, then spend the savings on the elements that are handled every day, such as worktop quality, drawer hardware and lighting. A modest L-shape with well-chosen fittings will usually serve better, and cost less, than an ambitious island layout trimmed to the bone.
Common Mistakes When Buying Cheap Kitchens
The most frequent mistake is treating the lowest sticker price as the whole cost. A cheap kitchen quote often covers only the cabinet boxes and doors, with worktops, handles, plinths, end panels, and delivery added later. Before comparing offers, ask each seller what the quoted figure actually includes and request a written breakdown. A quote that looks modest can climb once the missing elements are added, so compare complete packages rather than headline numbers.
A second common error is buying flat-pack units without checking that the room’s walls are square and the floor level. Budget ranges usually offer limited adjustment, so if a wall bows or a corner is out of true, filler panels and custom scribing become necessary and eat into the savings. Measure at several points along each wall and check diagonals before ordering. In older properties, allowing for a little irregularity in the plan is far cheaper than discovering it during installation.
Skipping the planning stage is another trap. Cheap kitchens reward precise layouts: getting the run lengths, appliance gaps, and door swing clearances right on paper avoids costly reordering. A door that fouls a radiator or an oven that cannot open fully is a design fault, not a manufacturing one, and returns on flat-pack items are often restricted. Walk through the workflow mentally—fridge to sink to hob—and confirm that drawers and cupboard doors clear each other when open.
Many buyers also underestimate the installation and worktop costs relative to the cabinets. In budget projects, fitting and a solid or laminate worktop can represent a large share of the total, sometimes rivalling the furniture itself. Getting two or three fitting quotes early, and confirming who is responsible for cutting worktop openings for the sink and hob, prevents nasty surprises. If you plan to self-install, be honest about the time and tools required.
Finally, chasing the very cheapest option without checking build quality and after-sales support is a false economy. Look at how drawers run, whether hinges are adjustable, and what the returns and spare-parts policy covers. A slightly higher-priced range with better hardware and clear guarantees usually outlasts the absolute bargain, especially in busy family kitchens where doors and drawers are opened constantly.
Easy Maintenance Tips for Budget Kitchens
Keeping a budget kitchen looking decent over time comes down to maintenance habits rather than spending power. Affordable cabinets, worktops and appliances tend to show wear faster than premium materials, so the goal is to slow that wear down and catch problems while they are still small and cheap to fix. A few consistent routines will do more for a low-cost kitchen than any single upgrade.
Start with moisture, which is the main enemy of budget cabinetry, particularly chipboard and MDF carcasses. Wipe up spills and splashes on doors, plinths and around the sink promptly instead of letting them sit, and pay attention to the seams and cut edges where water seeps in and swells the board. Check the sealant around the sink and along the worktop-to-wall joint a couple of times a year; redoing a bead of sealant is a quick, low-cost job, whereas a swollen carcass usually means replacing a unit. In humid rooms, leaving a window or extractor fan running after cooking and washing helps more than any cleaning product.
Worktops need matching care according to their material. Laminate tolerates everyday wiping but dislikes standing water at the edges and hot pans placed directly on the surface, so trivets and a quick dry after cleaning protect the finish. Solid wood needs occasional oiling to stop it drying and splitting. Stainless steel and composite surfaces benefit from being dried after wiping to avoid water marks and dull patches. In every case, use mild detergent and a soft cloth rather than abrasive creams or scouring pads, which scratch surfaces and make them trap dirt faster.
Appliances and hardware are where small fixes prevent bigger bills. Clean extractor filters on a regular schedule so the fan keeps working efficiently, wipe down the hob after each use while it is still easy, and defrost or clean the fridge before ice build-up affects performance. Tighten loose hinges and handles as soon as they start to wobble, since a sagging door strains the hinge and the carcass around it. Drawer runners last longer if drawers are not overloaded, and a light application of suitable lubricant keeps them gliding.
Habits in daily use matter as much as cleaning. Wipe surfaces and splashbacks as you cook rather than saving it all for a weekly deep clean, keep the area around the bin and under the sink dry, and avoid storing heavy items on top of wall units. A simple routine of a quick daily wipe, a weekly check of seals and hardware, and a seasonal look at worktop joints and appliance filters keeps a budget kitchen serviceable for years, protecting the money already spent instead of replacing units prematurely.
Planning Installation Without Extra Costs
The cheapest way to blow a kitchen budget is not the cabinets themselves but the installation, especially the surprises that only appear once the old units come out. Before you order anything, plan the sequence of work so that tradespeople are not waiting on each other and so that you are not paying for a second visit to fix something that could have been handled in the first. A realistic schedule starts with a survey of the existing space: check that walls are reasonably square, that the floor is level enough for base units, and that the electrical and plumbing points sit where the new layout needs them. If services have to move, that is the single most expensive item in most installations, so design the layout around the existing water, waste and power positions wherever the room allows.
Decide early who does what. Fitting cabinets, cutting worktops, connecting plumbing and wiring sockets are separate skills, and a general fitter may handle some but not all. Splitting the job into clearly defined tasks usually costs less than hiring one contractor to coordinate everything, but it only works if you have a written order of work: units first, then worktop templating, then sink and hob connections, then tiling and finishing. Worktop fabrication in particular often runs on its own lead time, so book the template visit only once the base units are fixed and level, otherwise you pay for a return trip.
Delivery and access are quiet cost drivers. Check door widths, stair turns and parking restrictions before the delivery day, because a failed drop-off or a crew that cannot get units into the room adds charges and delays. Ask for the delivery to be timed against your fitting start rather than arriving weeks early, since storing cabinets in a damp garage or hallway risks damage that is not covered. If you are fitting the units yourself, budget your own time generously: hanging wall cabinets and getting doors to align is slower than it looks, and rushing leads to re-drilling and replacement parts.
Build in a contingency for the hidden work. Removing old units often reveals damaged plaster, uneven screed or outdated wiring, and dealing with these mid-installation is more expensive than anticipating them. Keep a portion of the budget unallocated and agree in advance with your fitter how additional work will be priced, so unexpected repairs do not turn into open-ended hourly charges. Finally, sequence the finishing trades last: tiling, sealing and painting after the units and worktop are in place avoids damage and repeat visits, and it means the room is usable sooner with less spent on callbacks.
Frequently asked questions
What is the cheapest type of kitchen to buy?
The cheapest option is usually a flat-pack or ready-to-assemble kitchen sold in standard cabinet sizes. Because the units come in fixed dimensions and are shipped disassembled, you avoid bespoke manufacturing costs. Choosing a simple door style with a foil or melamine finish keeps the price down further. You then add budget worktops, basic handles and mid-range appliances. The trade-off is less flexibility on awkward spaces, so measure carefully and plan around standard sizes rather than paying for custom units.
Are flat-pack kitchens worth the money?
For most tight budgets, yes. Flat-pack kitchens give you solid carcasses and a wide choice of doors at a lower price than bespoke or rigid kitchens, and the savings come mainly from standard sizing and self-assembly. They are worth it if you can check every unit on delivery and are comfortable with basic assembly or hiring a fitter. They become poor value if you pay a professional to assemble many units, since labour can erase the savings, or if you choose very thin, low-grade board that wears quickly.
How can I save money on kitchen cabinets?
Focus your budget on carcasses and spend less on doors and extras. Standard-size units cost far less than custom ones, so design around common widths and fill gaps with panels or filler strips. Choose a simple door profile in a laminate or foil finish instead of painted or solid wood. Cut down on internal accessories, soft-close upgrades and glass inserts, which add cost quickly. Reusing existing units where they are sound, and buying drawers only where you really need them, also keeps the total down.
Is laminate worktop good for a cheap kitchen?
Laminate is one of the most budget-friendly worktop choices and performs well if treated sensibly. It resists stains and everyday wear, comes in many finishes, and is light and easy to cut, which helps during installation. Its weaknesses are heat and water at joints and edges, so always use trivets and chopping boards and seal cut edges properly. For a low-cost kitchen that will be used normally, laminate offers good value, though it will not match the durability of solid surface or stone.
Can I install a cheap kitchen myself?
You can install much of a flat-pack kitchen yourself if you are practical and have the right tools. Assembling cabinets, fitting handles and fixing units to a sound, level wall are realistic DIY tasks. What you should not tackle alone is anything involving gas, major electrical work or moving plumbing, which needs a qualified tradesperson by law in most places. Worktops, sink cut-outs and levelling are fiddly and worth practising or paying for. A realistic plan is to do the assembly and let a professional handle services and worktops.
How long do budget kitchens usually last?
A well-fitted budget kitchen can last many years, but lifespan depends more on build quality and installation than on price alone. Carcasses made from thicker, moisture-resistant board and properly sealed edges hold up far better than thin chipboard. Good ventilation, prompt repair of leaks and avoiding standing water around sinks and worktops all extend life. Doors and hinges are usually the first parts to show wear and are cheap to replace. Expect a budget kitchen to need minor refreshes sooner than a premium one, but not to fall apart quickly.
Where should I not cut costs in a kitchen?
Do not economise on the things that are hard or dangerous to change later. Spend properly on installation and on any gas, electrical or plumbing work, using qualified tradespeople. Buy good-quality hinges, drawer runners and a reliable tap, since cheap ones fail first and are awkward to replace. Ensure adequate ventilation and a sound, level subfloor. A decent worktop and properly sealed edges protect the cabinets beneath. Saving on these areas often costs more in repairs than the original saving.
How do I compare cheap kitchen quotes fairly?
Ask every supplier to quote on the same plan, listing the same units, worktop, appliances and extras so you compare like with like. Check whether delivery, assembly, old kitchen removal and waste disposal are included, as these vary widely. Confirm what the quote says about worktop cut-outs, sink and tap fitting, and electrical or plumbing work. Look at the specification of carcasses, hinges and runners rather than just the headline total. Get everything in writing and compare the full scope, not only the bottom-line price.
Work out your own case in 30 seconds:
Methodology
This calculator produces an indicative estimate based on the parameters you enter. The ranges used reflect typical market tiers in the cleaning and maintenance space and are neither a commercial offer nor a guarantee. Prices and availability may vary.
Read next :Best Dog Tracker: How to Choose the Right GPS Collar
Read next :DIY Kitchens UK: A Practical Planning Guide
Read next :Solar Panels for Campervan: Complete Buyer’s Guide
Full guide :Home Linens
More from this guide :
Was this guide helpful?
Share your experience with the WiseHomeGuides community.