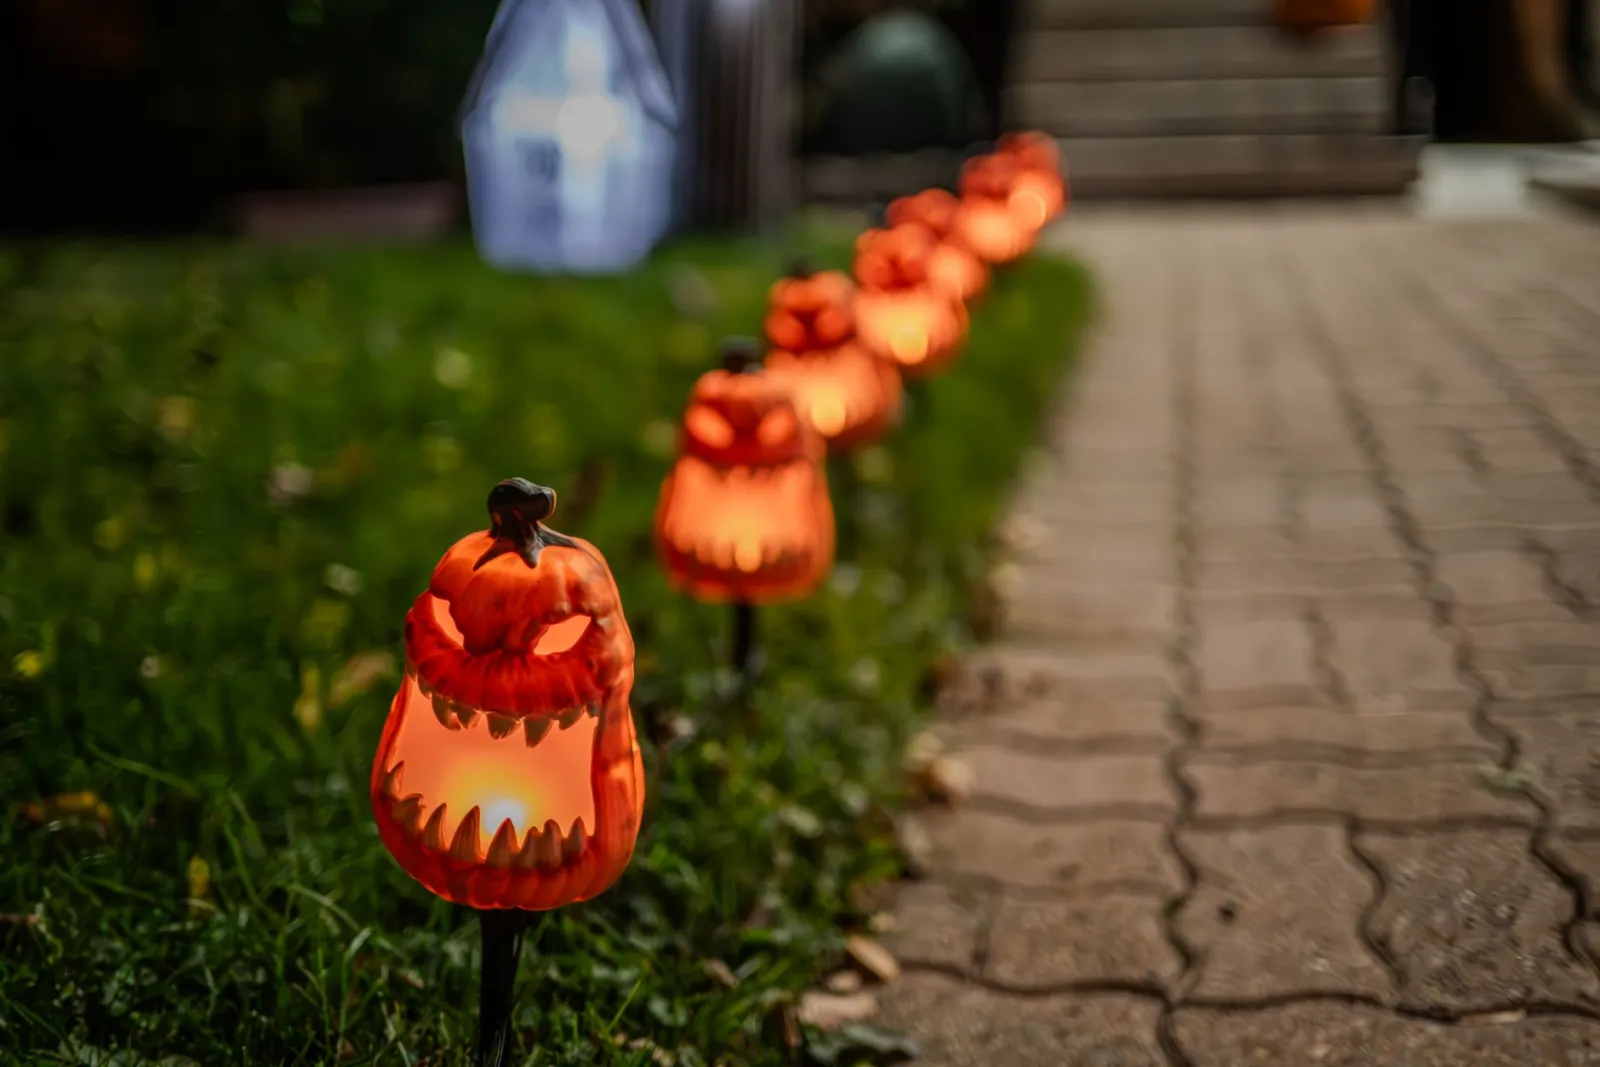
Halloween spills out of the house and into the garden more than any other celebration. A few pumpkins on the doorstep are a start, but the real magic happens when the whole outdoor space tells a story — a path that flickers in the dark, a porch that makes visitors pause, a corner that feels just slightly haunted.
The good news: you don’t need a big budget or a perfectly manicured lawn. What you need is a plan, a bit of restraint, and an eye for how things look after dark. That last point matters more than anything. A garden that looks charming at noon can look flat and forgettable at 7 p.m., and since most Halloween visitors arrive in the evening, the night version is the one that counts.
This guide walks you through the practical side of decorating a garden for Halloween: laying out a route, choosing lighting that actually works, using natural materials, and creating moments that feel spooky without tipping into chaos. You’ll find concrete ideas you can adapt whether you have a tiny courtyard or a long front garden.
Start with a Route, Not with Props
The most common mistake is buying decorations first and figuring out where they go later. The result? A cluster of skeletons near the door, a lonely pumpkin by the bins, and a stretch of dark path nobody notices. Reverse the order: walk your garden as a visitor would, from the street or gate to your front door, and map out the journey.
Ask yourself a few questions as you go. Where does a guest’s eye land first? Where are the natural bottlenecks — a narrow path, a gate, a set of steps? Those pinch points are where a single well-placed decoration has the most impact. A tall figure flanking a gate, for example, frames the entrance far better than five small props scattered across a lawn.
Here’s a concrete example. Imagine a narrow front path with a hedge on one side and a low wall on the other. Instead of decorating both sides evenly, you could line only the hedge with a row of small lanterns, leaving the wall bare. The asymmetry creates a sense of a guided corridor — visitors feel gently steered forward, and the darkness on the open side does the atmospheric work for you.
- Mark three zones: the approach (gate or street edge), the path (the walk to the door), and the threshold (porch, steps, door).
- Give each zone one job: the approach teases, the path builds tension, the threshold delivers the payoff.
- Leave gaps. Empty space between decorated moments makes each one feel stronger and keeps the scene from looking cluttered.
Lighting Is the Whole Game
You can skip almost everything else and still have a memorable garden if the lighting is right. The key principle is contrast: dark areas make lit areas feel dramatic. Flooding the whole garden with light kills the mood instantly.
Warm, low, flickering light reads as Halloween; cool, bright, even light reads as a car park. Position light sources low to the ground — along a path edge, tucked inside a carved pumpkin, or nestled in a border — so they graze surfaces and cast long, moving shadows. Uplighting a tree trunk or a bare shrub from below is one of the simplest tricks: the branches loom, and the garden suddenly has a presence it never had in daylight.
Consider a real situation many people recognise: a porch light left on all evening. It’s practical, but it flattens everything around it. Try switching it off and instead placing two or three small battery-powered lights at the base of the steps. The steps become a stage, faces are lit from below, and the effect costs almost nothing in effort.
Safety deserves a mention here, because it’s easy to forget in the excitement. Keep every path genuinely walkable — light the route itself, not just the scenery. Avoid trailing cables across walkways, and check that anything flame-based sits well away from dry leaves, fabrics, and doorways. If you use real candles, place them inside containers that won’t tip, and never leave them burning unattended.
Work with What Your Garden Already Gives You
Nature is an excellent Halloween collaborator, and it’s free. Fallen leaves, bare branches, dried grasses, and seed heads all carry a slightly eerie quality that no plastic prop can match. The trick is to gather and arrange rather than to buy and place.
Bare branches are the workhorse. Stood upright in a pot or tied to a railing, they read as something reaching out of the dark; draped with a little cobweb-like material or a few hanging shapes, they become a focal point. Fallen leaves, rather than being cleared away, can be swept into deliberate mounds around the base of decorations — a small pile beneath a figure suggests something half-buried, and it takes two minutes.
Pumpkins, of course, are the anchor. Here’s a practical observation: a mix of sizes and shapes always looks better than a row of identical ones. Cluster three or four of different heights at the door, stack a couple on steps, and leave one or two uncarved among the carved. Uncarved pumpkins last far longer, so they can go out early, while carved ones should wait until closer to the night itself.
| Material | Best Use | Practical Note |
|---|---|---|
| Bare branches | Tall focal points, framing a gate | Anchor firmly in pots; they catch wind |
| Fallen leaves | Mounds, path borders, covering bases | Sweep into deliberate shapes, not random piles |
| Pumpkins (uncarved) | Clusters, step edges, early display | Last for weeks; keep dry |
| Pumpkins (carved) | Lit focal points near the door | Carve close to the event; they soften fast |
| Dried grasses and seed heads | Subtle texture in borders | Bring indoors if heavy rain is forecast |
Build One Unforgettable Moment
Visitors remember a single striking detail far longer than a garden full of average ones. Rather than spreading your effort thin, pick one spot and make it the star. It could be the door itself, a gate, a window, or a single tree.
A door, for instance, can carry the whole scene: a dark drape across the frame, a cluster of branches leaning to one side, and low light spilling from beneath. Everything else in the garden then plays a supporting role. Or take a tree with a low branch — a few hanging shapes that sway slightly in the breeze create movement, and movement in the dark is what makes people look twice.
Timing matters too. Decorations that appear gradually over a week or two build anticipation, and neighbours notice. Save the centrepiece — the lit pumpkins, the door scene — for the final evening or two, so the garden reaches its peak exactly when visitors arrive. Then, once the night is over, take it down within a day or two; a wilting display left up for a fortnight loses all its charm.
Frequently Asked Questions
How early should I start decorating?
Anything that won’t spoil can go out a week or two ahead — uncarved pumpkins, branches, sturdy figures. Anything perishable or flame-based should wait until the day itself or the day before. This staged approach keeps the garden looking fresh on the night and gives you time to adjust the layout once you see how it reads after dark.
What if my garden is very small?
Small spaces often work better, because the drama is concentrated. Focus on the threshold: the door, the step, and the wall immediately beside them. One well-lit carved pumpkin and a few branches can transform a tiny courtyard. Resist the urge to fill every corner — in a small garden, restraint reads as confidence.
How do I keep decorations safe in wind and rain?
Weight everything down. Fill the bases of pots and stands with stones or sand, and avoid tall, lightweight items in exposed spots. Battery-powered lights are far more weather-friendly than mains-powered ones outdoors. Check the forecast before the event and bring in anything delicate — dried grasses and fabric drapes in particular.
The Short Answer
Decorating a garden for Halloween comes down to four moves: map a route from gate to door, make lighting do the heavy lifting, use natural materials your garden already offers, and build one unforgettable moment rather than scattering your effort. Do those things and even a modest outdoor space becomes somewhere visitors slow down and look around.
If you want to go further — themes, costumes for the garden, treats stations, and how to plan the whole evening — a more complete guide on decorating for Halloween covers the wider picture and pairs well with this one.