In short :
- Pick a spot with at least six hours of direct sun and soil that doesn’t stay soggy after rain.
- Loosen the top 25–30 cm and work in plenty of organic matter — compost is what separates a thriving bed from a sad one.
- Keep the bed about 1.2 m wide so you can reach everything, and stay close to a water source.
- A small bed takes a few hours; a bigger or raised one eats a full weekend.
- Start small with one well-prepared patch — your second bed will take half the time.
Setting up a garden bed means choosing a sunny, well-drained spot, clearing and loosening the soil to about 25–30 cm deep, mixing in organic matter, then planting and watering thoroughly. A bed roughly 1.2 m wide keeps everything within arm’s reach. Most beds take a weekend of work before the first seed goes in.
Getting a bed right the first time saves you seasons of frustration. A patch that drains badly, sits in shade, or has compacted soil will fight you every year — and you’ll spend more time rescuing plants than enjoying them. The good news: the setup itself is simple, physical work, and the decisions that matter are few. Below are the choices worth slowing down for, plus the small details that quietly make the difference between a bed that thrives and one that sulks.
Where should you place a garden bed?
Put the bed where it gets at least six hours of direct sun, sits on ground that doesn’t stay soggy after rain, and is close enough to a water source that you’ll actually water it.
Sun is the first filter. Vegetables and most flowering plants want full sun; leafy greens and some herbs tolerate a little shade. Watch your candidate spot across a single day before committing — a corner that looks bright at noon can be in shadow by mid-afternoon. A simple trick: photograph the spot every two hours on a sunny day and check the sequence.
Drainage comes second. Dig a hole about 30 cm deep, fill it with water, and see how long it takes to disappear. If it’s still there after a few hours, that spot will drown roots. You can work around poor drainage by building the bed up above ground level rather than digging down.
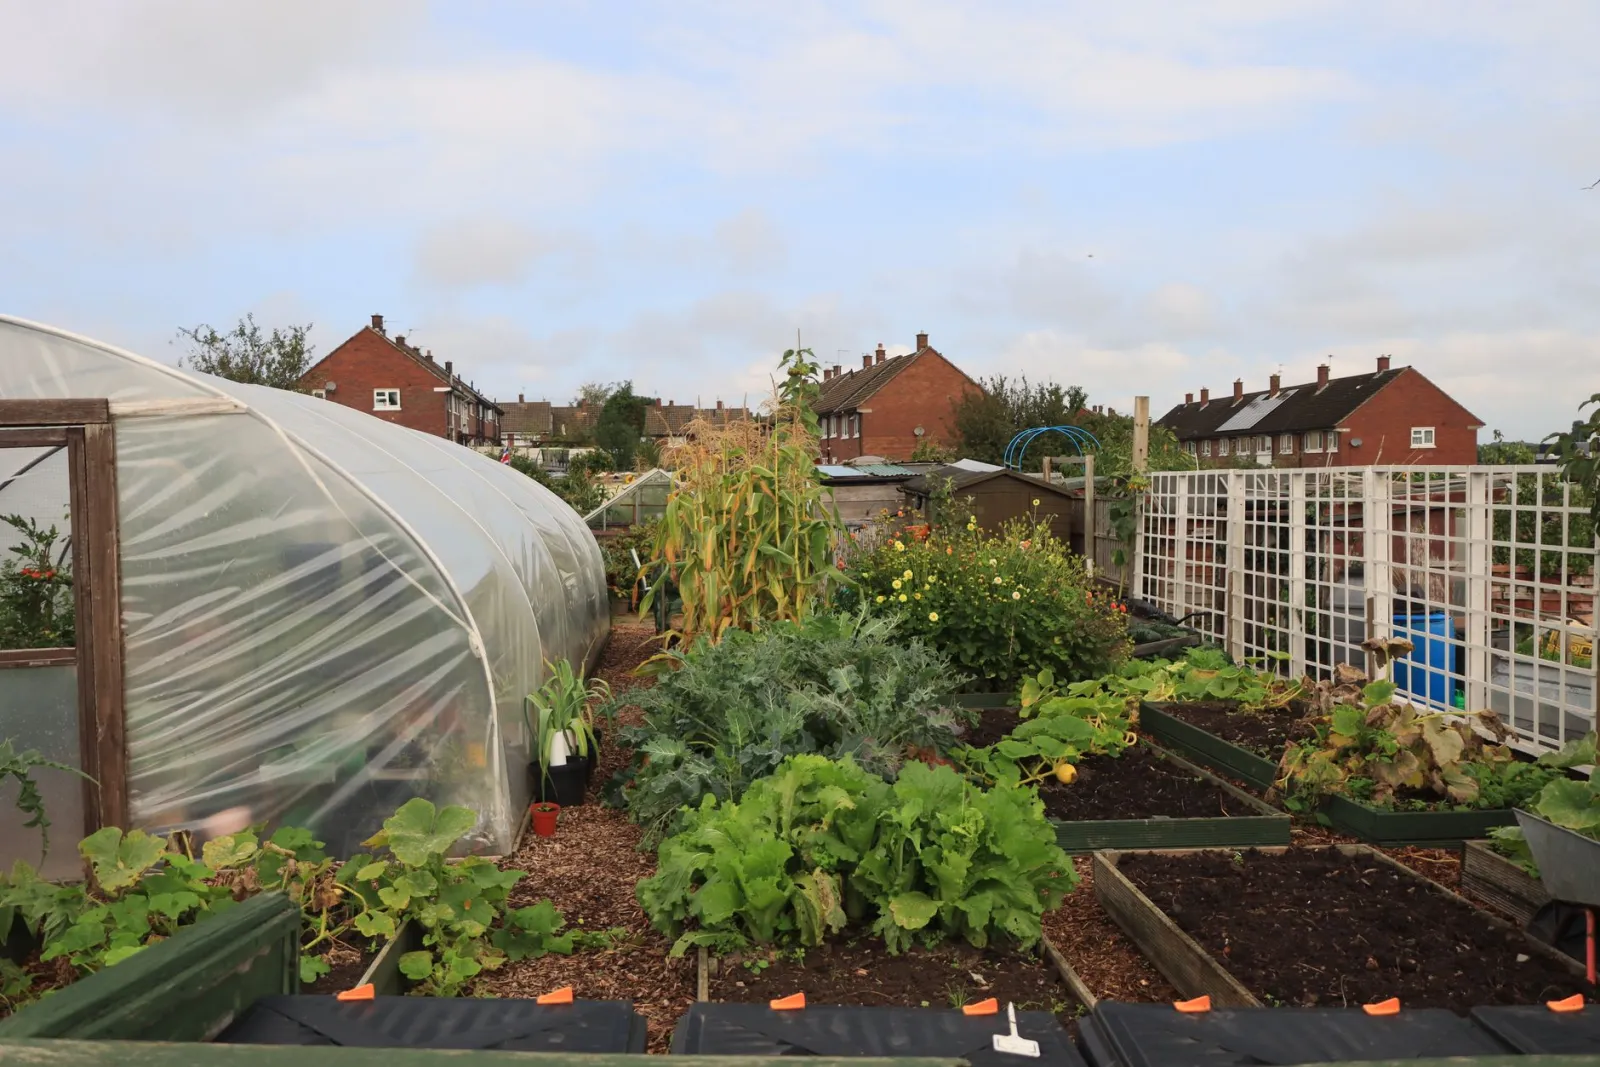
Access is the third factor people forget. A bed you have to squeeze past, step over, or drag a hose across quickly becomes a chore. Leave a path at least 60 cm wide on the sides you’ll use most, and keep the bed itself no wider than about 1.2 m so you can reach the middle from either side without stepping on the soil. Compacted soil from footsteps is one of the most common reasons plants underperform — and it’s entirely avoidable with the right dimensions.
How do you prepare the soil?
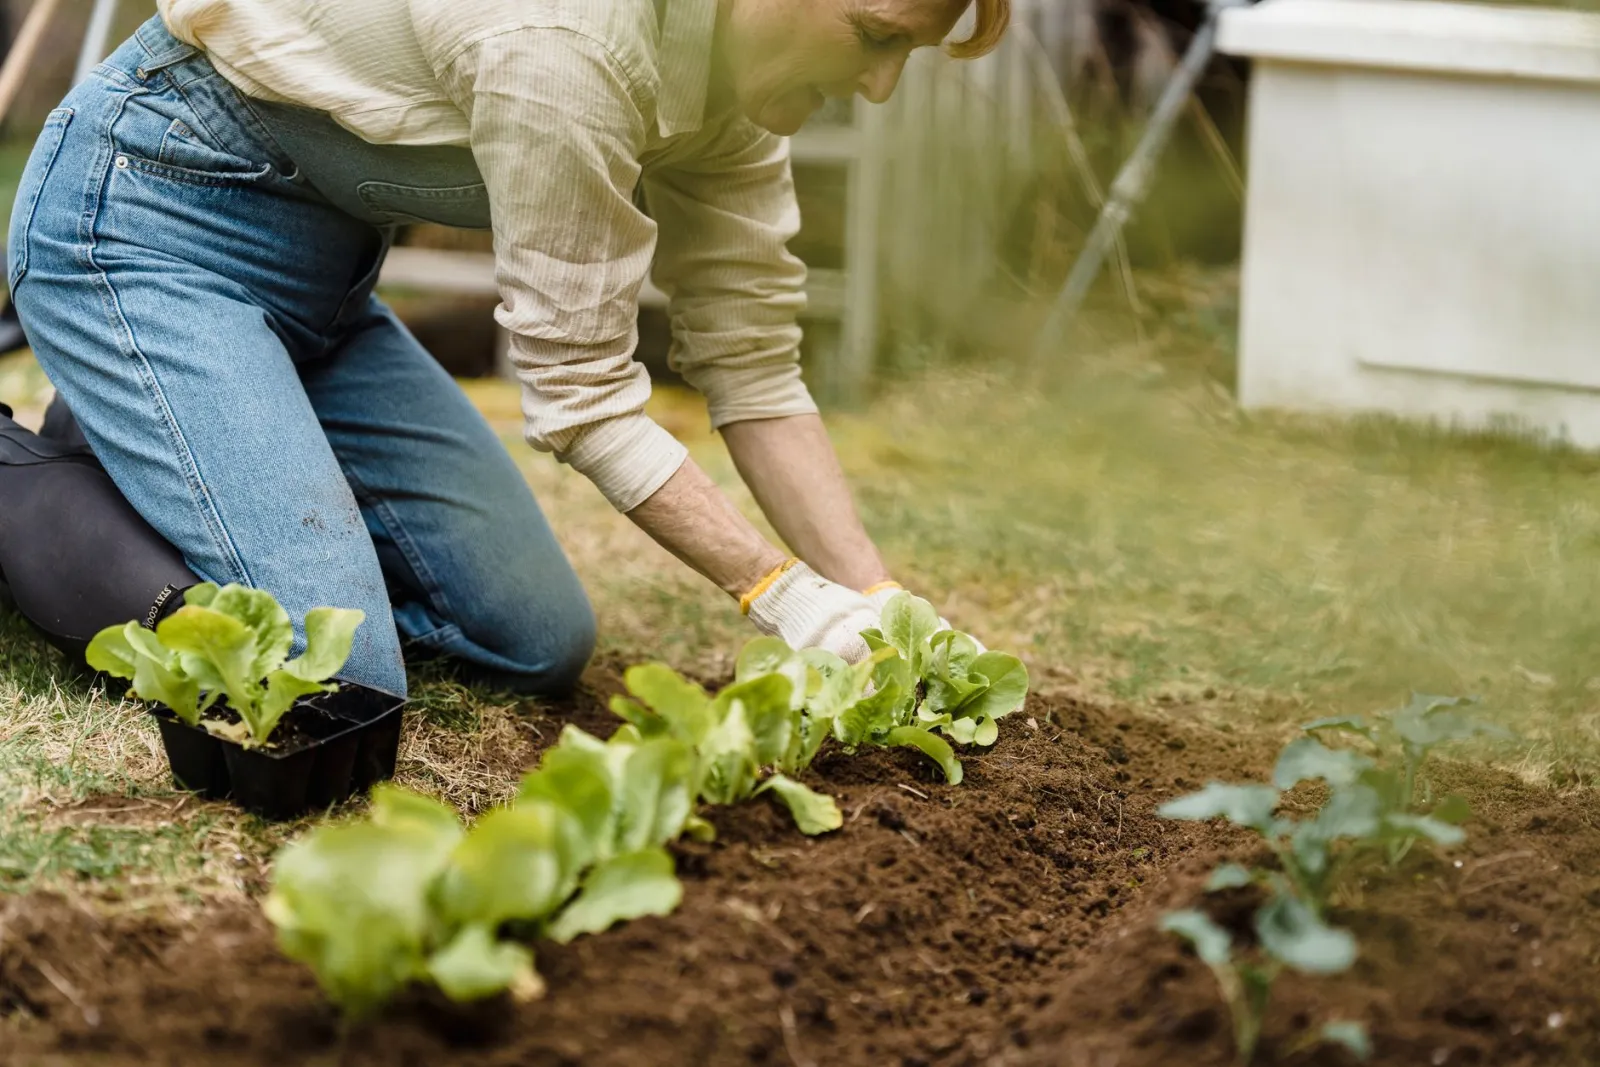
Clear the area, loosen the top 25–30 cm, remove roots and debris, then work in a generous layer of organic matter and level the surface.
Start by removing grass, weeds, and stones. For a lawn, slice off the turf with a spade and set it aside upside down in a corner — it breaks down into decent compost. Perennial weeds with deep roots need to go entirely, root and all, or they’ll return with enthusiasm.
Then loosen the soil. You don’t need to turn it over completely; breaking up the top 25–30 cm with a fork is enough to let roots and water move. If the ground is dry, water it a day before — working dry, hard soil is twice the effort for half the result.
Spread a layer of compost or well-rotted organic matter, roughly 5–10 cm deep, and fork it into the top layer. This is the single highest-value step in the whole process: it improves drainage in heavy soil, helps sandy soil hold moisture, and feeds the soil life that does the real work. A common mistake is skimping here — a thin dusting does little.
Finally, level and gently firm the surface. You want a bed that’s even, not compacted. Water it well and let it settle for a few days before planting if you can.
Raised bed or in-ground?
Choose a raised bed when your ground soil is poor, drainage is bad, or you want easier access and fewer weeds; choose in-ground when you have decent soil and want to save on materials and watering.
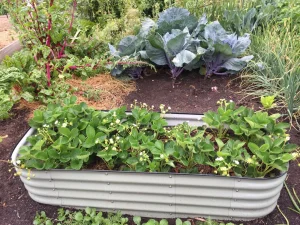
An in-ground bed is cheaper and simpler, and it connects to the natural soil below, which helps with moisture and nutrients. A raised bed, built up 20–30 cm, gives you total control over what’s in it and warms up faster in spring — useful in cool climates or short seasons. The trade-off is that raised beds dry out faster and need more watering.
| Factor | In-ground bed | Raised bed |
|---|---|---|
| Best for | Decent existing soil, larger areas | Poor or waterlogged soil, small spaces |
| Setup effort | Lower | Higher (building, filling) |
| Watering needs | Moderate | Higher — dries out faster |
| Weed control | More effort | Easier |
| Accessibility | Depends on layout | Easier on the back |
How do you plant and protect a new bed?
Plant at the right depth and spacing for each crop, water immediately, then mulch the surface and keep the bed consistently moist for the first few weeks.
Spacing matters more than beginners expect. Crowded plants compete for light and air, and poor airflow invites disease. Follow the spacing on the seed packet or plant label — it always looks too generous at planting time and always turns out to be right. A row of lettuces set 25 cm apart will fill the space within weeks.
Water gently and deeply right after planting to settle the soil around the roots. For the first two to three weeks, keep the surface consistently moist; that’s when young roots are most vulnerable.
Then mulch. A 5–8 cm layer of straw, leaves, or compost keeps moisture in, suppresses weeds, and moderates soil temperature. Leave a small gap around stems so they don’t rot. Mulching is the step most often skipped and the one that saves the most time later.
One practical note on timing: plant tender crops only once the risk of frost has passed in your area, and harden off seedlings grown indoors by setting them outside for a few hours a day over a week before planting. Rushing this step is a classic reason for a disappointing first harvest.
Frequently asked questions
Do I need to dig the whole bed, or can I just plant into the existing soil?
Loosening the top 25–30 cm across the whole bed pays off, because roots spread wider than the plant’s visible spread. If time is short, at least prepare a generous area around each planting spot — but a fully loosened bed gives noticeably better results in the first season.
How long does it take to set up a garden bed?
A small bed of a few square metres can be cleared and prepared in a few hours. A larger bed, or one built up as a raised structure, typically takes a full weekend including filling and watering. Add a few days of settling time before planting if you can.
What if my soil is heavy clay or very sandy?
Both improve with the same fix: plenty of organic matter worked into the top layer. Clay needs it to open up and drain; sand needs it to hold moisture and nutrients. Add it every year, not just at setup — soil improves gradually with repeated additions.
The short answer, one more time
Set up a garden bed by picking a sunny, well-drained, accessible spot, clearing and loosening the top 25–30 cm, working in a good layer of organic matter, then planting, watering, and mulching. Keep the bed narrow enough to reach across, and don’t skip the compost — it’s the difference between a bed that merely exists and one that produces.
Start small if this is your first bed. A single well-prepared 1.2 m by 2 m patch will teach you more than a sprawling layout you can’t keep up with. Once you’ve done it once, the second bed takes half the time. For the broader picture — planning a full garden, rotating crops, and seasonal care — a more complete guide on the general topic is worth reading next.
Was this guide helpful?
Share your experience with the WiseHomeGuides community.