
In short :
- Sweep or vacuum first, always — mopping over loose debris just makes mud.
- Use two buckets, one for wash water and one for rinsing, and wring the mop until it’s damp, not dripping.
- Work in sections from the far corner toward the exit, overlapping your passes.
- Change the wash water before it turns grey, and match the moisture to your floor type.
- Follow that order and streaks, sticky film, and water damage mostly disappear.
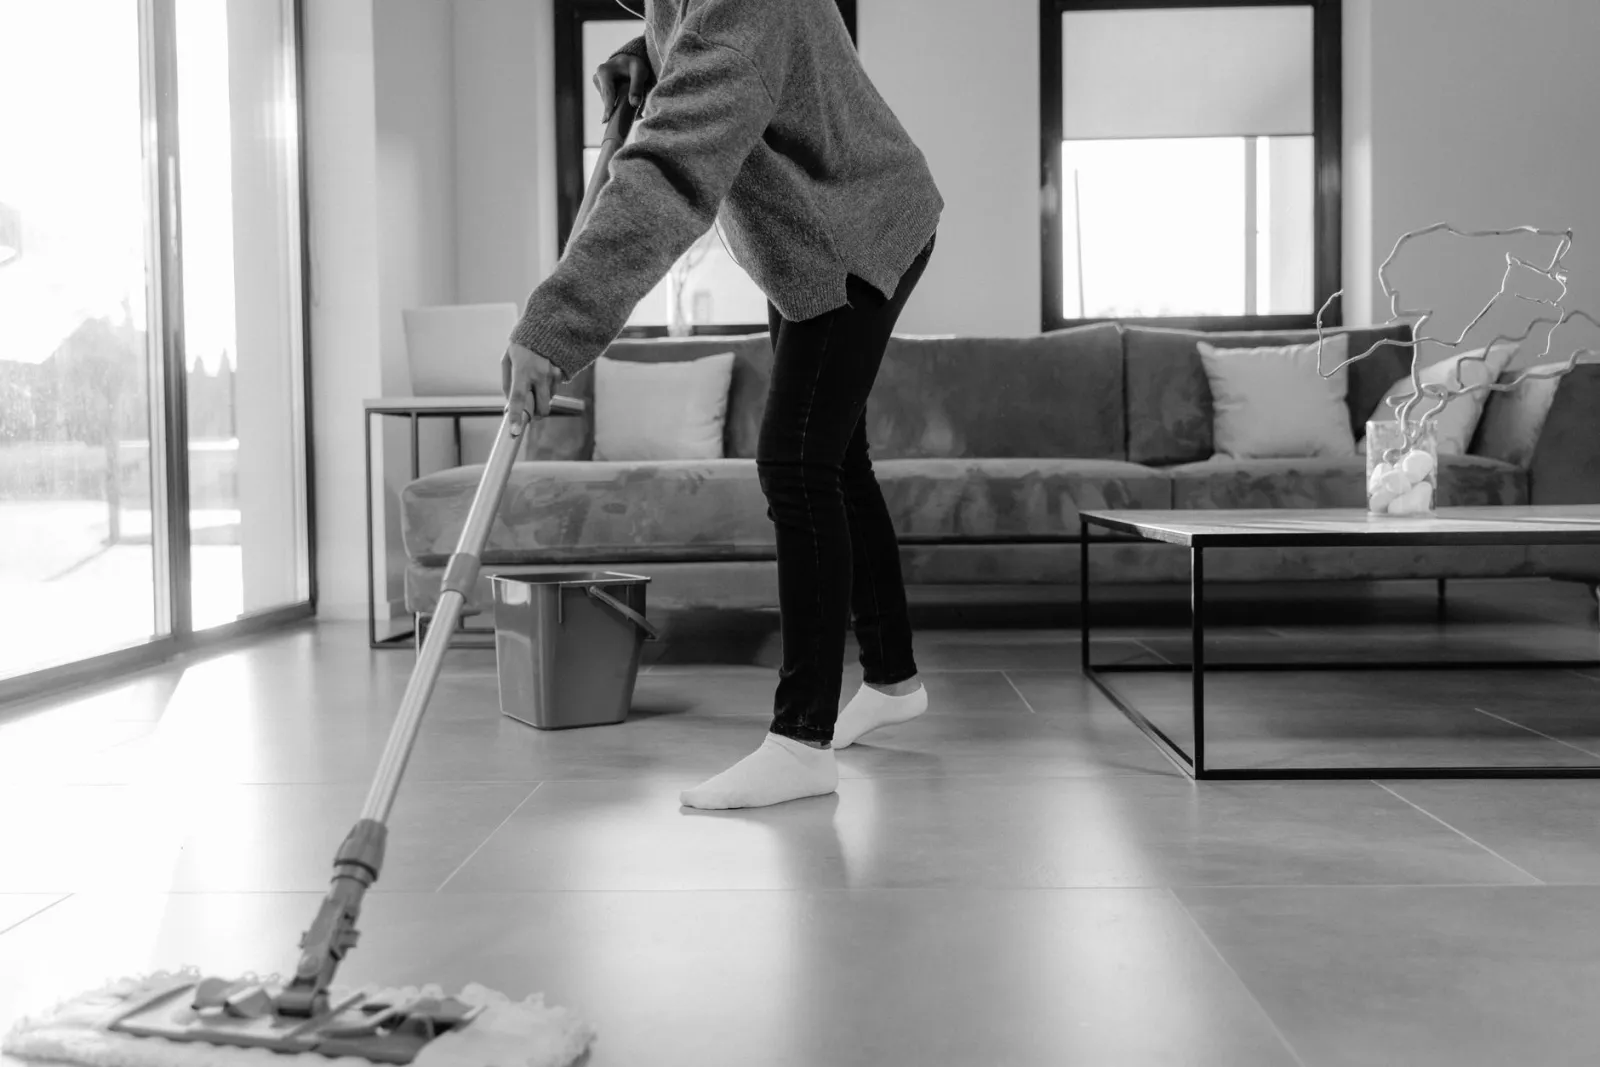
Mopping looks simple. You dunk a mop in a bucket, drag it across the floor, and call it done. Yet most people finish with a floor that is still sticky, streaky, or somehow dirtier than when they started. The problem is rarely effort. It is method.
Mopping is the process of using an absorbent tool attached to a handle to clean, wash, or wipe hard floor surfaces. That definition hides a lot of nuance. Done well, mopping removes grime without leaving residue or water damage. Done badly, it just spreads a thin film of dirty water around the room.
This guide breaks down the correct way to mop, step by step. You will find the sequence that actually works, the mistakes that cause streaks and damage, and clear answers to the questions people ask most. Whether you are dealing with tile, laminate, or sealed wood, the same principles apply — only the amount of moisture changes.
Sweep First, Always — Water Comes Second
Here is the single most common mistake: mopping over loose debris. When you push a wet mop across crumbs, hair, and dust, you are not cleaning. You are making mud and smearing it into the surface.
Before any water touches the floor, remove everything loose. A vacuum or a dry dust mop handles this in two minutes. Pay attention to corners, along baseboards, and under the edges of furniture where debris collects.
Consider a kitchen after cooking. There is flour dust near the counter, a few grains of rice under the table, and pet hair drifting near the doorway. If you go straight to a wet mop, that flour turns into a paste that dries into a dull haze. Sweep first, and the same floor comes up clean with far less effort.
Why does this matter so much? Because a mop head can only hold so much. Fill it with solids and it stops absorbing liquid. You end up pushing dirty water around instead of lifting it away.
The Two-Bucket Method: The Step Most People Skip
If there is one change that transforms results, it is this. Use two buckets, not one.
- Bucket one: warm water with a small amount of cleaning solution.
- Bucket two: clean water for rinsing.
The logic is straightforward. With a single bucket, every dip puts dirt back into the water you are cleaning with. By the time you reach the far side of the room, you are mopping with a dilute soup of everything you have already picked up. A separate rinse bucket breaks that cycle. You wash, then you rinse the mop clean before reloading.
Picture a hallway after a rainy day. Shoes have tracked in grit and salt. With one bucket, that grit stays in suspension and gets redistributed across every tile. With two buckets, the rinse water turns cloudy while the wash water stays usable — a visible sign the method is working.
Wring Thoroughly — Damp, Not Sopping
A mop should be damp, never dripping. Excess water is the enemy of wood, laminate, and even some vinyl planks. It seeps into seams, swells edges, and leaves streaks as it dries.
Wring the mop until it stops releasing water when you lift it. On sealed hardwood, the floor should feel barely moist to the touch and dry within a minute or two. If you can see standing water, you have used too much.
Work in Sections, and Go Backwards
Good mopping is systematic, not random. Divide the room into manageable sections — roughly a few square metres at a time — and finish one before moving on.
Start at the far corner and work toward the exit. This way you never walk over a freshly mopped area, and you never trap yourself in a wet zone. Overlap each pass slightly with the previous one so no strip gets missed.
For most hard floors, a figure-eight or overlapping S-pattern covers ground efficiently and picks up more than straight back-and-forth strokes. On textured tile, a little extra pressure in the grout lines helps, since that is where grime settles.
Here is a real-world example. In a bathroom, the area around the toilet and the base of the shower collect the most residue. If you mop the whole room in one pass, those spots get the same light treatment as the open floor. Instead, do the open floor first, then return to the heavy spots with a fresh, damp mop and a bit more attention.
Change the Water Before It Turns Grey
Dirty water cannot clean. When the wash bucket starts looking murky, stop and replace it. For a large room or a heavily soiled floor, that might mean changing water once or twice. It feels like extra work. It is the difference between a clean floor and a smeared one.
Matching Moisture to Your Floor Type
Not every floor wants the same treatment. The correct technique adapts to the surface.
| Floor type | Moisture level | Key precaution |
|---|---|---|
| Ceramic or porcelain tile | Damp to moderately wet | Clean grout lines separately |
| Sealed hardwood | Barely damp | Dry immediately; never soak |
| Laminate | Barely damp | Avoid standing water at seams |
| Vinyl or LVT | Damp | Rinse to avoid film build-up |
| Natural stone | Damp, pH-neutral solution | Avoid acidic or abrasive cleaners |
Laminate is a good illustration. It looks tough, but its core is sensitive to water. A sopping mop left to air-dry can cause edges to swell within a single session. A well-wrung mop and a quick dry pass prevent that entirely.
Frequently Asked Questions
Is it moping or mopping?
The correct spelling is mopping, with a double “p”. “Moping” is a different word entirely — it means being gloomy or listless. So if you are cleaning the floor, you are mopping. If you are sighing in a corner, you are moping. Easy to mix up, but only one of them gets the floor clean.
What is the meaning of mopping?
Mopping is the act of cleaning, washing, or wiping hard floor surfaces using an absorbent tool attached to a handle. The tool — the mop — picks up dirt and liquid, which is then rinsed or wrung out. It is a wet-cleaning method, distinct from sweeping or vacuuming, which remove dry debris only.
What is mopping in cleaning?
In cleaning, mopping is the stage that follows dry removal of debris. It handles the film that sweeping cannot: grease, sticky spills, dried-on residue, and fine dust. It is typically the final step in floor care, and its purpose is to leave a surface both clean and residue-free.
What is the correct way to mop?
Sweep or vacuum first. Use two buckets — one for wash water, one for rinsing. Wring the mop until it is damp, not dripping. Work in sections, starting from the far corner and moving toward the exit, overlapping your passes. Change the wash water before it turns grey, and match the moisture level to your floor type.
The Short Answer
The correct way to mop comes down to a simple sequence: remove dry debris first, use two buckets, keep the mop damp rather than wet, work in sections toward the exit, and change your water before it gets dirty. Follow that order and streaks, sticky film, and water damage largely disappear.
Most people already have the right tools. What changes the result is the method — and the patience to sweep before you ever reach for the bucket. Try it once on a single room and compare it to your usual routine. The difference is usually obvious the moment the floor dries.
For a broader look at floor care across different surfaces and routines, a more complete guide on the general topic covers everything from daily upkeep to deep cleaning schedules.
