This article contains Amazon affiliate links. As an Amazon Associate we earn from qualifying purchases.
Short answer : The best compost bin for your home depends on how much kitchen and garden waste you generate, how much space you have, and how hands-on you want to be. Enclosed bins with a lid keep pests out and control odours, making them a solid choice for tidy patios or small gardens, while open or turning-style bins suit larger yards where airflow and volume matter more. Look for sturdy construction, good ventilation, and a design that lets you access finished compost without dismantling the whole unit. Matching the bin to your climate and the materials you compost matters more than chasing a single top pick.
In short
- Choose an enclosed lidded bin to keep pests out and reduce odours near the house.
- Tumbler bins make turning easier but hold less volume than stationary models.
- Open or slatted bins suit larger yards where airflow and capacity matter most.
- Place the bin on soil or a base that drains so worms and microbes can enter.
- Check that the lid or access door lets you remove finished compost without a struggle.
What a Compost Bin Does for Your Home and Garden
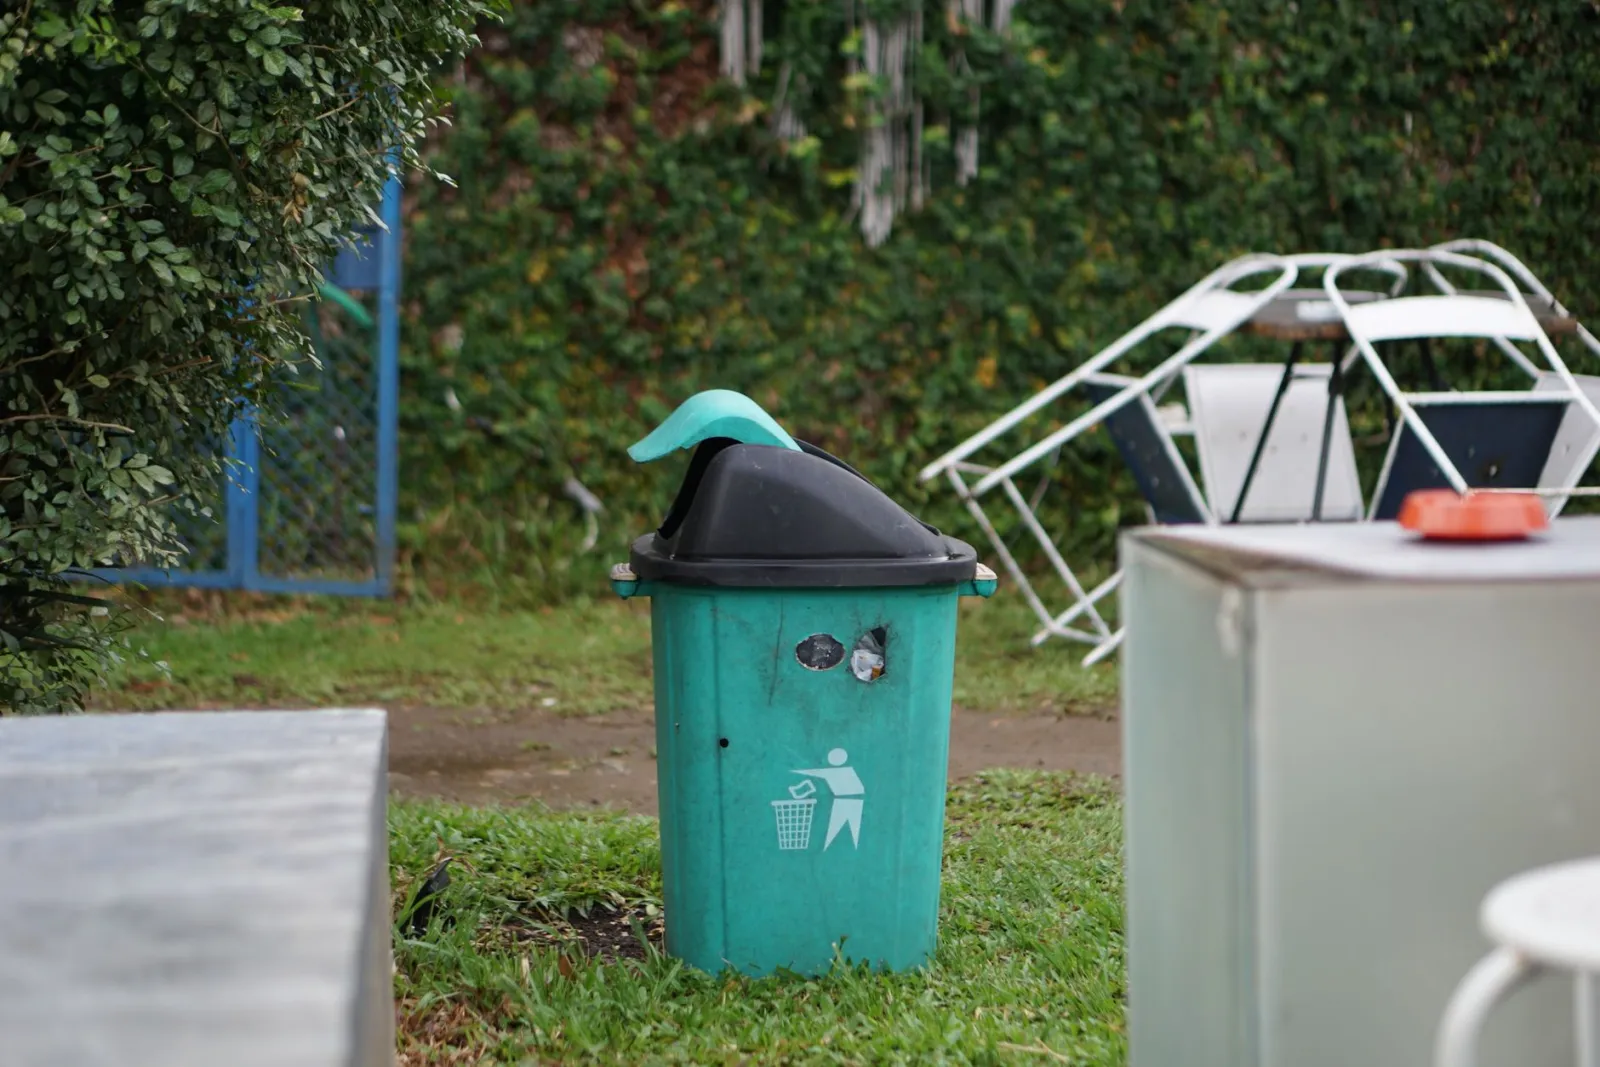
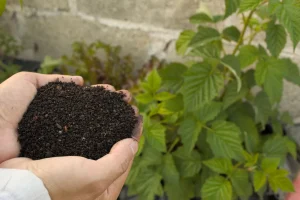
A compost bin turns the everyday waste stream of a household into a working asset for the garden, and understanding what it actually does helps you choose the right one. At its core, a bin provides a contained environment where kitchen scraps, garden trimmings, and other organic materials break down into a dark, crumbly soil amendment. The container matters because it concentrates the material, holds moisture, and keeps the pile tidy, but the real work is done by microorganisms, fungi, and worms that consume the waste. What you get back is compost: a nutrient-rich material that improves soil structure, helps sandy soils hold water, and loosens heavy clay so roots can spread.
For the home, the most immediate benefit is a reduction in the volume of rubbish you put out for collection. Food scraps and garden waste are heavy and wet, and they make up a large share of a typical household bin. When those materials go into a compost bin instead, the kitchen bin stays cleaner and smells less, because scraps are no longer sitting in a bag for days. A bin with a secure lid also keeps flies, rodents, and pets out of the waste, which is a practical reason many households choose a lidded or enclosed design over an open heap. The result is a tidier outdoor space and fewer trips to move waste.
For the garden, compost is one of the most useful things you can add to soil. It feeds the soil food web, improves drainage, and helps the ground retain moisture through dry spells, which reduces how often you need to water. It can be used as a mulch around beds, dug into vegetable plots before planting, or mixed into potting soil for containers. Because compost is produced on site, it also cuts the need to buy bagged soil amendments, and it closes the loop between what the garden grows and what it returns to the ground.
Compost bins also suit different households in different ways. A small kitchen-focused bin handles fruit and vegetable peelings, coffee grounds, and eggshells, while a larger outdoor bin or tumbler can take garden clippings, leaves, and shredded cardboard alongside kitchen waste. The pace of breakdown depends on the mix of materials, moisture, and airflow, so a bin that is easy to turn or aerate tends to produce compost faster than a sealed, static one. Choosing a bin that matches the volume of waste your household produces and the space you have is the key to keeping the process working.
Finally, a compost bin is a practical tool for reducing waste and building healthier soil at the same time. It keeps organic material out of landfill, returns nutrients to the garden, and gives you a supply of compost you can use throughout the year. The section that follows looks at the different types of bins and how to match one to your home, garden, and routine.
Kitchen Compost Bins vs. Outdoor Composters
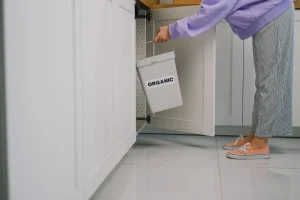
Kitchen compost bins and outdoor composters solve different problems, and the most successful setups usually rely on both rather than choosing one over the other. A kitchen bin is a short-term holding container: it collects fruit and vegetable scraps, coffee grounds, eggshells, and similar everyday waste close to where you cook, then gets emptied every few days. An outdoor composter is where the actual decomposition happens, handling larger volumes over weeks or months and accommodating materials you would never keep indoors, such as garden trimmings, leaves, and shredded cardboard.
The practical distinction comes down to capacity and frequency. Kitchen bins are deliberately small so that scraps never sit long enough to smell or attract pests; most hold only a few days’ worth of prep waste for a typical household, which is exactly the point. Outdoor units range from compact tumblers suited to a small yard to stationary bins and multi-chamber systems that can process ongoing inputs from both kitchen and garden. If you generate a lot of lawn clippings, pruned branches, or autumn leaves, an outdoor composter is non-negotiable, because a kitchen bin cannot absorb that volume or that material type.
Ventilation and moisture control also separate the two categories. Kitchen bins are designed to seal reasonably well and minimize odor, sometimes with a carbon filter in the lid, but they are not built for active aerobic decomposition. Outdoor composters are the opposite: they need airflow, a workable balance of greens and browns, and enough moisture to keep the pile biologically active. A tumbler makes turning and aerating easy, while a stationary bin or worm-based system demands more attention to layering and drainage.
Use cases clarify the choice. A household without outdoor space, or someone who simply wants to stop sending food scraps to landfill, can use a kitchen bin as a collection point and then transfer contents to a municipal program, a neighbor’s pile, or a community garden. A household with a yard and garden beds benefits from an outdoor composter that turns both kitchen scraps and yard waste into finished compost for soil improvement. Renters and apartment dwellers often start with the kitchen bin alone; homeowners with planting beds usually want the outdoor unit as the destination.
A common and sensible pattern is to pair the two: a small, well-sealed kitchen bin for daily collection and an outdoor composter for processing. This keeps odors and mess out of the kitchen while giving the outdoor system a steady supply of nitrogen-rich greens to balance drier browns. When shopping, weigh where the material will end up, how much waste you produce weekly, and whether you can commit to turning or maintaining an outdoor pile, since those factors matter more than any single feature.
Tumbler Compost Bins: Fast, Easy Turning
Tumbler compost bins solve one of the most common complaints about backyard composting: the physical effort of turning a pile. Instead of wrestling with a pitchfork or a freestanding heap, you load the drum, close the lid, and rotate the whole body of material with a handle or by spinning the barrel itself. That mechanical advantage is the defining feature of this style, and it changes who can compost comfortably and how quickly the material breaks down.
The core appeal is aeration made simple. Composting depends on oxygen reaching the microbes working through the scraps, and a tumbler lets you mix the entire contents in seconds rather than turning only the outer layer. Because the drum rotates fully, material that was at the bottom gets lifted and exposed, which helps keep the pile active and reduces the anaerobic pockets that cause sour smells. In practice, owners who turn their tumbler every few days tend to see faster decomposition than those who let a static bin sit untouched, though results still depend on the balance of greens and browns and on moisture.
Design differences matter when choosing one. Look at how the drum is supported: some models rest on a central axle with a stand at each end, while others ride on rollers along the base. Axle-mounted drums tend to feel more stable when full, while roller designs can be easier to spin. Consider the loading method too. A single large door at the top is convenient for adding scraps, but a dual-chamber model with a divider lets you fill one side while the other finishes curing, so you always have a batch in progress. Ventilation holes and internal fins or baffles are worth checking, since fins help break up clumps as the drum turns and improve mixing.
Capacity and placement shape the use case. Smaller drums suit a single household generating modest kitchen waste and are easy to position on a patio or beside a garage, while larger twin-chamber units fit households that also add garden trimmings and want continuous output. Tumblers are elevated off the ground, which keeps contents away from ground-level pests and makes them a reasonable fit for smaller yards where a three-bin system won’t work. The trade-off is that a tumbler holds less than an open pile, so heavy yard-waste volumes may still call for a separate static bin or pile.
Practical habits get the most from a tumbler. Add scraps and a roughly equal volume of dry brown material such as shredded leaves or cardboard, give the drum a few full rotations, and check moisture by squeezing a handful, aiming for a damp sponge feel rather than dripping or bone-dry. Turning every few days keeps the batch aerated without overworking it. When the material turns dark, crumbly, and earthy-smelling, it’s ready to empty into the garden. For gardeners who want fast, low-effort turning and tidy containment, a tumbler is a strong fit; for very large volumes or continuous heavy input, pairing it with a ground-based bin covers both needs.
Stationary and Dual-Chamber Compost Bins
Stationary compost bins are the simplest option in this category: a single fixed chamber, often with a lid and an open or vented base, into which material is added continuously from the top and harvested from a door or hatch near the bottom. Because you keep adding fresh scraps while older material finishes lower down, the contents are always at mixed stages of decomposition. These bins suit households that generate a steady but modest flow of kitchen and garden waste and that want a low-maintenance, set-and-forget setup. The main trade-off is that you cannot easily turn the whole pile at once, so aeration depends on the base design and on occasionally working material with a fork through the hatch.
Dual-chamber bins solve the batch problem by giving you two separate compartments side by side or stacked. You fill one chamber while the other matures, then switch once the first is full. This lets finished compost cure undisturbed for several weeks without new material being mixed in, which typically produces a more uniform, ready-to-use result. The practical benefit is a clearer rhythm: one chamber is “active” and the other is “cooking.” For a household that wants a reliable supply of finished compost each season without handling the entire pile at once, this staged approach is often worth the larger footprint.
When judging a stationary or dual-chamber bin, look at the access points first. A wide, well-positioned harvest door at the bottom makes emptying far easier than a narrow slot, and a lid that seals reasonably well keeps rain out and discourages pests. Base design matters too: an open bottom in contact with soil lets worms and microbes move in and improves drainage, while a closed base with vents gives you more control over moisture but needs more attention. Insulation, where present, helps keep the core warm through cooler months, which supports faster breakdown.
Think about capacity in relation to your waste volume rather than picking the largest bin available. A bin that fills too slowly never heats up and breaks down sluggishly, while one that overflows forces you to store scraps separately. Dual-chamber units need enough volume per side to hold a full batch, so they tend to be larger overall. Position them on level ground with good drainage, within easy reach of the kitchen, and partly shaded so the contents do not dry out in strong sun.
These bins reward a little routine. Alternate green, nitrogen-rich material with brown, carbon-rich material, keep the contents about as damp as a wrung-out sponge, and turn or aerate periodically through the hatch or by emptying and refilling. Stationary bins ask for patience and accept continuous feeding; dual-chamber bins ask for a little more planning but give you cleaner separation between fresh and finished compost. Choose based on how much waste you produce and how often you want to harvest.
Worm Composting Bins for Small Spaces
Worm composting bins, also called vermicomposters, trade the heat-and-turn rhythm of a traditional pile for a quiet, continuous process run by red wiggler worms. The worms eat kitchen scraps and bedding, and what comes out is a nutrient-rich castings mix that works as a soil amendment for pots, raised beds, and seedlings. The appeal for apartments, balconies, and small yards is that the whole system fits in a footprint roughly the size of a storage bin, produces no noticeable odor when managed correctly, and needs no electricity or outdoor space. Instead of waiting for a batch to finish, you harvest castings periodically while the colony keeps working.
The main design choice is between tray-based stack systems and single-container bins. Stacked-tray models let worms migrate upward as lower trays finish, which makes harvesting less messy and keeps the working zone separate from the finished castings. Single-container bins are simpler and often cheaper, but you harvest by hand-sorting or by pushing material to one side to lure the worms away. For a small kitchen, a two- to four-tray stack tends to be the sweet spot: enough capacity to keep up with daily vegetable scraps without becoming a piece of furniture you have to trip over.
Capacity is the number that drives everything else. A worm bin’s practical limit is set by how much food the worm population can process before it turns sour, not by the bin’s physical volume. As a working rule, start with a modest amount of worms and feed gradually, letting the colony grow into the available space. Overfeeding is the most common failure in small systems, because uneaten scraps compact, go anaerobic, and create the smell that gives vermicomposting a bad reputation. Keep a carbon-rich bedding layer of shredded paper or cardboard on top, bury food under it, and add scraps in small amounts rather than dumping a week’s worth at once.
Placement matters more in small spaces than in a garden. A worm bin wants a spot that stays moderate in temperature, out of direct sun, and protected from freezing, which often means a closet, a shaded balcony corner, or under a sink. Drainage is essential: most bins collect leachate at the bottom, and that liquid needs somewhere to go so the bedding does not turn waterlogged. Look for a bin with a secure lid to keep pests out and a spigot or catch tray to manage moisture, and choose a size you can physically lift when it comes time to move or harvest it.
Vermicomposting suits households that generate a steady trickle of fruit and vegetable trimmings and want a compact, low-odor way to turn them into something useful. It is less suited to homes producing large volumes of scraps at once, or to very cold or very hot locations without a sheltered spot. If your goal is simply to keep food waste out of the trash with minimal fuss and a small footprint, a worm bin is one of the most space-efficient options available.
Choosing the Right Size for Your Household
The right size for a compost bin comes down to two things: how much organic waste your household actually produces each week, and how long the material needs to sit before it becomes usable compost. A bin that is too small fills up before the waste has broken down, forcing you to stop adding scraps while the batch finishes. A bin that is too large spreads the material too thin, making it harder to keep the pile active and warm. Matching capacity to output is the single most practical decision you can make.
Start by estimating your kitchen waste. A small household of one or two people that cooks mostly fresh food typically generates a modest amount of vegetable peels, coffee grounds, and eggshells each week, and a compact countertop or small outdoor bin is often sufficient. A family of four or more, especially one that cooks at home regularly and gardens, will fill a bin far faster and benefits from a larger capacity so there is room to keep adding material while earlier layers decompose. Households that also add garden waste such as leaves, grass clippings, and plant trimmings should size up accordingly, since yard material adds volume quickly in certain seasons.
Think about where the bin will live, because space constrains size as much as waste volume does. A balcony, patio, or small urban yard limits you to a compact tumbler or a narrow standing bin that fits against a wall. A larger garden or allotment can accommodate a bigger stationary bin or a multi-chamber system that lets you process one batch while starting another. If you plan to compost year-round in a cold climate, a bin with some insulation or a larger mass helps the pile retain heat through winter, which is another reason not to undersize.
Consider how often you want to handle finished compost. Smaller bins cycle faster but require more frequent emptying and turning; larger bins hold more material and give you a bigger harvest of finished compost at once, but they take longer to fill and to cure. A household that wants a steady, small supply of compost for containers might prefer a compact bin they can manage easily, while someone amending a large vegetable bed will want the volume a bigger bin provides.
Finally, be honest about maintenance. The best size is the one you will actually turn, aerate, and monitor. An oversized bin that becomes a neglected mound of material defeats the purpose, while a well-matched bin stays manageable and keeps the process moving. When in doubt, choose a capacity slightly larger than your current weekly output so you have room to add material without overflowing, but not so large that the contents sit idle and cold.
Ventilation, Odor Control, and Pest Prevention
Ventilation is the single most important factor separating a compost bin that works quietly in the background from one that turns into a nuisance. Aerobic decomposition, the process you actually want, depends on oxygen reaching the material throughout the pile. When airflow stalls, the pile shifts toward anaerobic conditions, which is what produces the sharp, sour, rotten-egg smell most people associate with failed composting. Look for bins with deliberate air pathways: perforated walls or lids, ventilation slots, aeration tubes, or a tumbler design that lets you turn material to reintroduce oxygen. A sealed, airtight container with no venting will hold moisture and stall quickly, so treat any airflow feature as a core requirement rather than an accessory.
Moisture balance works hand in hand with airflow. A pile that is too wet fills the air pockets and suffocates the aerobic microbes, while a pile that is too dry simply stops breaking down. The practical target is a texture like a wrung-out sponge: damp but not dripping. The classic fix is the ratio of “greens” (kitchen scraps, fresh plant trimmings) to “browns” (dry leaves, shredded cardboard, straw, sawdust). When a bin starts to smell, the usual cause is too many greens and too few browns, so keeping a supply of browns nearby and adding a handful when you add scraps is the simplest odor-control habit. Bins with drainage or a base that lets excess liquid escape help prevent the soggy conditions that drive smells.
Odor control is largely a matter of covering fresh material and keeping the surface of the pile balanced. Burying food scraps in the center of the pile rather than leaving them on top reduces both smell and the attraction to pests. A lid that seals reasonably well traps odors while still allowing some gas exchange, and a bin placed in partial shade stays cooler and less prone to the rapid, smelly swings that come with overheating. For kitchen-counter or small indoor collectors, a tight-fitting lid and frequent emptying into the outdoor bin matter more than any additive.
Pest prevention comes down to denying animals easy access to food. Rodents, raccoons, and insects are drawn to exposed kitchen waste, so a bin with a secure, well-fitted lid and a base that sits flush with the ground or is set on a hard surface makes entry much harder. Avoid adding meat, dairy, and oily cooked foods to an open or tumble bin, as these are the strongest attractants. Turning or burying scraps promptly, keeping the lid closed, and cleaning up spills around the bin all reduce interest from wildlife. In areas with heavy rodent pressure, a bin with a solid, chew-resistant body and a locking or weighted lid is worth prioritizing over an open-frame design.
Materials and Durability: Plastic, Metal, and Wood
Material choice shapes how a compost bin ages, how it handles moisture, and how much maintenance it demands over the years. Plastic, metal, and wood each behave differently outdoors, and the right pick depends on your climate, sun exposure, and how often you turn or empty the bin.
Plastic is the most forgiving entry point. Rigid polypropylene and similar UV-stabilized plastics resist rot, won’t rust, and shrug off rain, which makes them a sensible fit for wet climates and small gardens. Their weakness is sunlight: cheaper plastics that lack UV stabilizers grow brittle and can crack along the rim or lid after a few seasons of direct sun. Plastic also insulates poorly, so a thin-walled tumbler or bin swings with outdoor temperature and loses heat in winter, slowing decomposition. Look for thick walls, a snug lid, and hinges that feel solid rather than flimsy. Plastic suits renters, balcony setups, and anyone who wants a lightweight bin they can move or hose down easily.
Metal, usually powder-coated or galvanized steel, is the durable choice for hot, sunny sites where plastic degrades. Steel holds its shape, resists pests better than thin plastic, and a dark-coated tumbler absorbs heat that helps a batch break down faster. The trade-off is corrosion: any scratch through the coating invites rust, and salt air or constant damp shortens its life. Galvanized finishes last longer in humid conditions than bare or thinly painted steel. Metal bins are heavier and can get uncomfortably hot in full sun, so they work best where you can place them in partial shade and keep an eye on the coating.
Wood, whether cedar, pine, or a slatted design, offers breathability and a natural look that fits a garden bed or border. Open slats let air circulate, which supports aerobic composting and reduces odor, and thick timber insulates better than thin plastic, helping a pile hold warmth through cool weather. The catch is upkeep: untreated wood weathers and eventually rots where it meets damp compost, and even rot-resistant species benefit from a liner or regular inspection. Wood suits stationary, ground-contact bins in larger gardens where appearance matters and where you can accept periodic repairs or replacement of a slat or panel.
A practical rule is to match material to conditions. Choose UV-stabilized plastic for wet, shaded, or temporary setups; coated or galvanized metal for hot, exposed sites where you want longevity and pest resistance; and wood for breathable, ground-set bins in established gardens. Whichever you pick, the details that decide durability are the same: thick walls, protected fixings, a lid that seals against rain, and a base that keeps the material off constantly saturated ground.
Where to Place Your Compost Bin
Placement decides whether a compost bin becomes a quiet workhorse or a daily nuisance. The right spot balances convenience, airflow, drainage, and neighborly goodwill, and getting it right at the start saves you from hauling a full bin across the yard later.
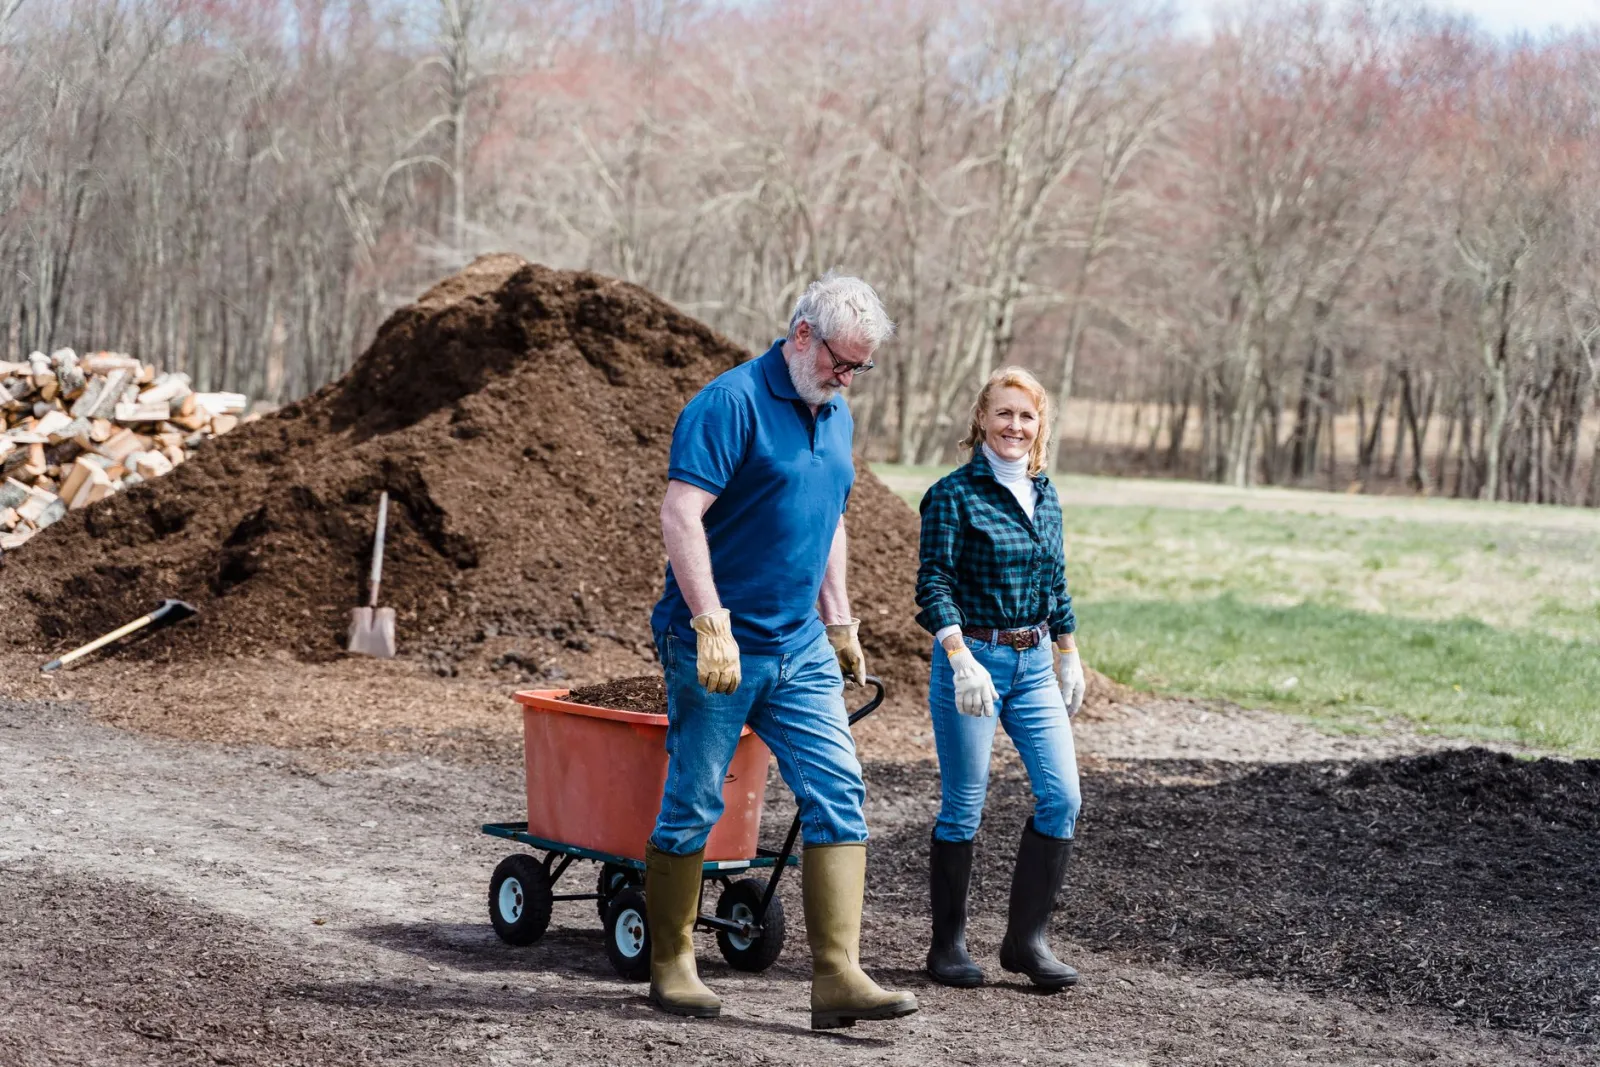
Start with access. You want the bin close enough to the kitchen door that carrying scraps out in winter still feels easy, yet far enough that odors and insects don’t drift toward the house or a patio. A short walk of a few paces is usually the sweet spot. Also think about the path itself: a firm, level route makes wheelbarrow trips for browns and finished compost far less punishing than slogging over soft ground or up a slope.
Drainage and sun matter more than many people expect. Low, soggy corners collect standing water and turn contents anaerobic, so avoid the spot where puddles linger after rain. A site that gets partial sun helps keep a bin warm and active in cool weather, while full afternoon baking can dry contents out and push you to add moisture. If your yard is mostly shade, that’s workable, but expect slower decomposition and plan to turn more often.
Consider your neighbors and prevailing winds. Place the bin so breezes carry any smell away from seating areas and property lines rather than across them. In tight suburban lots, setting it against a fence, hedge, or shed screens it visually and buffers odor. Leave clearance around the bin for opening lids, turning, and pulling out the finished material; cramming it into a narrow gap makes every task harder.
Match placement to use. A tumbler suits a spot near the house where you’ll spin it often, while a stationary or worm bin does better in steady shade with easy access to a water source for moisture adjustments. Keep a stash of browns nearby so layering stays convenient. Finally, check local rules and any homeowner guidelines before committing, and confirm the ground is stable enough that a full bin won’t shift or tip. A little planning up front keeps the whole system running smoothly.
Composting with Pets: Safety and Practical Tips
Composting with pets in the household changes what belongs in the bin and where the bin should live. Dogs are drawn to food scraps by smell, and many will knock over an open or lightly latched bin to reach them, while cats and smaller animals are more likely to investigate an indoor bin out of curiosity than to raid it deliberately. The practical response is to treat containment as the first safety feature rather than an afterthought: a securely latching lid, a body that resists tipping, and a base that sits flush with the ground matter more in a pet household than bin capacity or aesthetic finish.
The materials question is the second concern. Compost piles that accept meat, dairy, and cooked food scraps are the ones most likely to attract dogs and other animals, so households with pets often do better with a system that keeps kitchen inputs limited to fruit and vegetable trimmings, coffee grounds, and similar plant-based material. If the bin does take a wider range of scraps, the contents should be buried in the active core rather than left on the surface, and the lid should close completely after every addition. Finished compost should be treated as off-limits until it is fully mature, since partially decomposed material is more interesting to animals than finished humus.
Placement solves a surprising share of the problem. An outdoor bin set well away from the house, from feeding areas, and from the routes a dog patrols is less likely to be investigated at all, and a bin positioned against a fence or wall is harder to tip than one standing in open lawn. Indoors, a countertop or under-sink bin with a tight-sealing lid keeps odors contained, which is what actually discourages pets from nosing at it; a bin that vents smell into the room will keep attracting attention no matter how often it is emptied.
Practical habits reinforce the hardware. Emptying a small indoor bin frequently, rinsing it between loads, and keeping a layer of brown material on top of fresh scraps all reduce the scent signal that draws animals. Turning an outdoor pile regularly keeps it hot and active, which breaks down food faster and shortens the window during which it smells appealing. Storing the bag of scraps you carry out in a closed container rather than an open bowl removes another easy target.
Finally, consider the pet’s own safety around the bin rather than only the bin’s safety from the pet. Curious animals may chew on bin edges, lids, or handles, so sturdy construction and the absence of loose, detachable parts are worth checking before purchase. Keeping the bin in a location the pet cannot reach unsupervised, and supervising outdoor time near the pile, is the simplest safeguard of all.
Frequently asked questions
What is the difference between a kitchen compost bin and an outdoor composter?
A kitchen compost bin is a small container that holds food scraps temporarily before they go outside; it collects material but doesn’t produce finished compost. An outdoor composter, whether a tumbler, stationary bin, or worm bin, is where the actual decomposition happens. Kitchen bins focus on convenience and odor control, while outdoor composters provide the volume, airflow, and moisture balance needed for microbes to break scraps down into usable compost. Many households use both together.
How long does it take to get finished compost?
Timing depends on the method, the materials, and how actively you manage the pile. A well-managed hot pile or a tumbler turned regularly can produce finished compost in a matter of weeks to a few months. Passive, cool piles typically take much longer, often spanning a full season or more. Finished compost is dark, crumbly, and earthy-smelling, with little recognizable original material left. Turning, balancing greens and browns, and keeping moisture right all speed the process.
Do compost bins attract pests or rodents?
Compost bins can attract animals if they contain exposed food scraps, especially meat, dairy, and oily items. A securely lidded bin, a tumbler with a locking door, or a rodent-resistant base greatly reduces this risk. Burying food scraps in the center of the pile and avoiding problem materials also helps. Outdoor piles are more exposed than enclosed bins, so choose a design with a tight-fitting lid and no easy gaps if pests are a concern in your area.
Can I compost pet waste in a home compost bin?
It is generally best to keep dog and cat waste out of a standard home compost bin. Pet waste can carry pathogens that a typical backyard pile does not get hot enough to destroy, and it may attract animals. Composting pet waste safely requires a dedicated system and careful handling that most home bins are not designed for. Use your compost bin for plant-based kitchen scraps and yard waste instead, and dispose of pet waste through other means.
How often should I turn the compost in a tumbler bin?
Turning a tumbler aerates the material and mixes fresh scraps with older compost, which supports faster decomposition. A common approach is to give the drum a few full rotations every few days, or whenever you add new material. More frequent turning speeds things up but isn’t strictly necessary. Watch the contents: if the pile seems compacted, wet, or slow, turning more often helps. If it’s already breaking down well, occasional turning is enough.
What can I put in a compost bin?
Add a mix of greens and browns. Greens include fruit and vegetable scraps, coffee grounds, tea leaves, and fresh plant trimmings. Browns include dry leaves, straw, shredded paper, cardboard, and sawdust from untreated wood. Keep out meat, dairy, oily foods, and pet waste in most home systems, since these cause odors and pest problems. Chop larger pieces to speed decomposition, and maintain a balance favoring browns to control moisture and smell.
Do compost bins smell bad?
A well-balanced compost bin should smell earthy, not foul. Bad odors usually signal too many greens, too much moisture, or poor airflow. Fixing this means adding browns like dry leaves or shredded cardboard, turning the pile to aerate it, and ensuring excess liquid can drain. Kitchen bins can smell if scraps sit too long, so empty them often and consider a lid with a filter. Managing moisture and the green-to-brown ratio keeps odors under control.
How do I choose the right size compost bin for my household?
Match the bin size to how much food and yard waste you generate and how quickly you want finished compost. A small household with modest kitchen scraps may do well with a compact kitchen bin plus a modest outdoor tumbler. Larger families or homes with lots of yard waste benefit from a bigger stationary bin or multiple units. Consider available space, how often you can turn the pile, and whether you want continuous or batch composting.
Read next :Dog Food for Dogs with Pancreatitis: A Buyer’s Guide · Dining Table Height: A Complete Guide to Choosing the Right Size · Bed Covers for Dogs: Protect Your Bed and Keep Your Dog Comfortable · Best Lawn Mower: A Complete Buying Guide for Homeowners · Compostable Food Waste Bags: A Practical Buying Guide
Work out your own case in 30 seconds:
Methodology
This calculator produces an indicative estimate based on the parameters you enter. The ranges used reflect typical market tiers in the eco and energy savings space and are neither a commercial offer nor a guarantee. Prices and availability may vary.
Read next :Best Lawn Mowers 2026: A Complete Buying Guide
Full guide :Sustainable Home
More from this guide :
Was this guide helpful?
Share your experience with the WiseHomeGuides community.