In short :
- Start with the fireplace, not the TV — the heat source decides everything else.
- Get the screen height right by marking seated eye level on the wall with tape before you build.
- Plan the structure, storage, and cable route together so nothing gets boxed in later.
- Built-in framing suits a wall-mounted electric fire; a ready-made console is the simpler route.
- Do the sequence right — fire, clearances, screen height, cables — and the rest falls into place.
Picture the scene: a long evening, a film queued up, and a soft flicker of flame beneath the screen. A fireplace TV wall delivers that in one tidy footprint — but the build itself is where most people get stuck. Do you frame around an existing chimney breast? Do you buy a ready-made console with an integrated fireplace and simply slide it into place? And where, exactly, does the television go so it doesn’t end up too high, too hot, or too cramped?
This guide focuses on the practical decisions: the structure you build (or assemble), the clearances you respect, the cable route you plan before the first panel goes up, and the way the screen height shapes the whole design. You’ll find concrete steps, real-world examples, and straight answers to the questions people actually search for. Whether you’re working around a traditional chimney breast or starting from a blank wall, the same logic applies — plan the fire, then the screen, then the storage.
Start with the fireplace, not the television
The single most common mistake is designing the TV position first and squeezing the fire in afterwards. Reverse that order. The heat source dictates everything else: the safe zone above it, the depth of the surround, the materials that can sit close to it, and how much storage you can realistically fit on either side.
Two broad routes exist, and they behave very differently.
- Built-in or framed construction: you create a chimney-style surround from timber framing and heat-resistant board, then finish it with plaster, tile, or stone. This suits a wall-mounted electric fireplace or a balanced-flue gas unit, and it gives you full control over proportions.
- Console-led approach: a freestanding media unit with an integrated electric fireplace becomes the anchor, and you build shelving or panelling around it. Faster, more forgiving, and easier to change later.
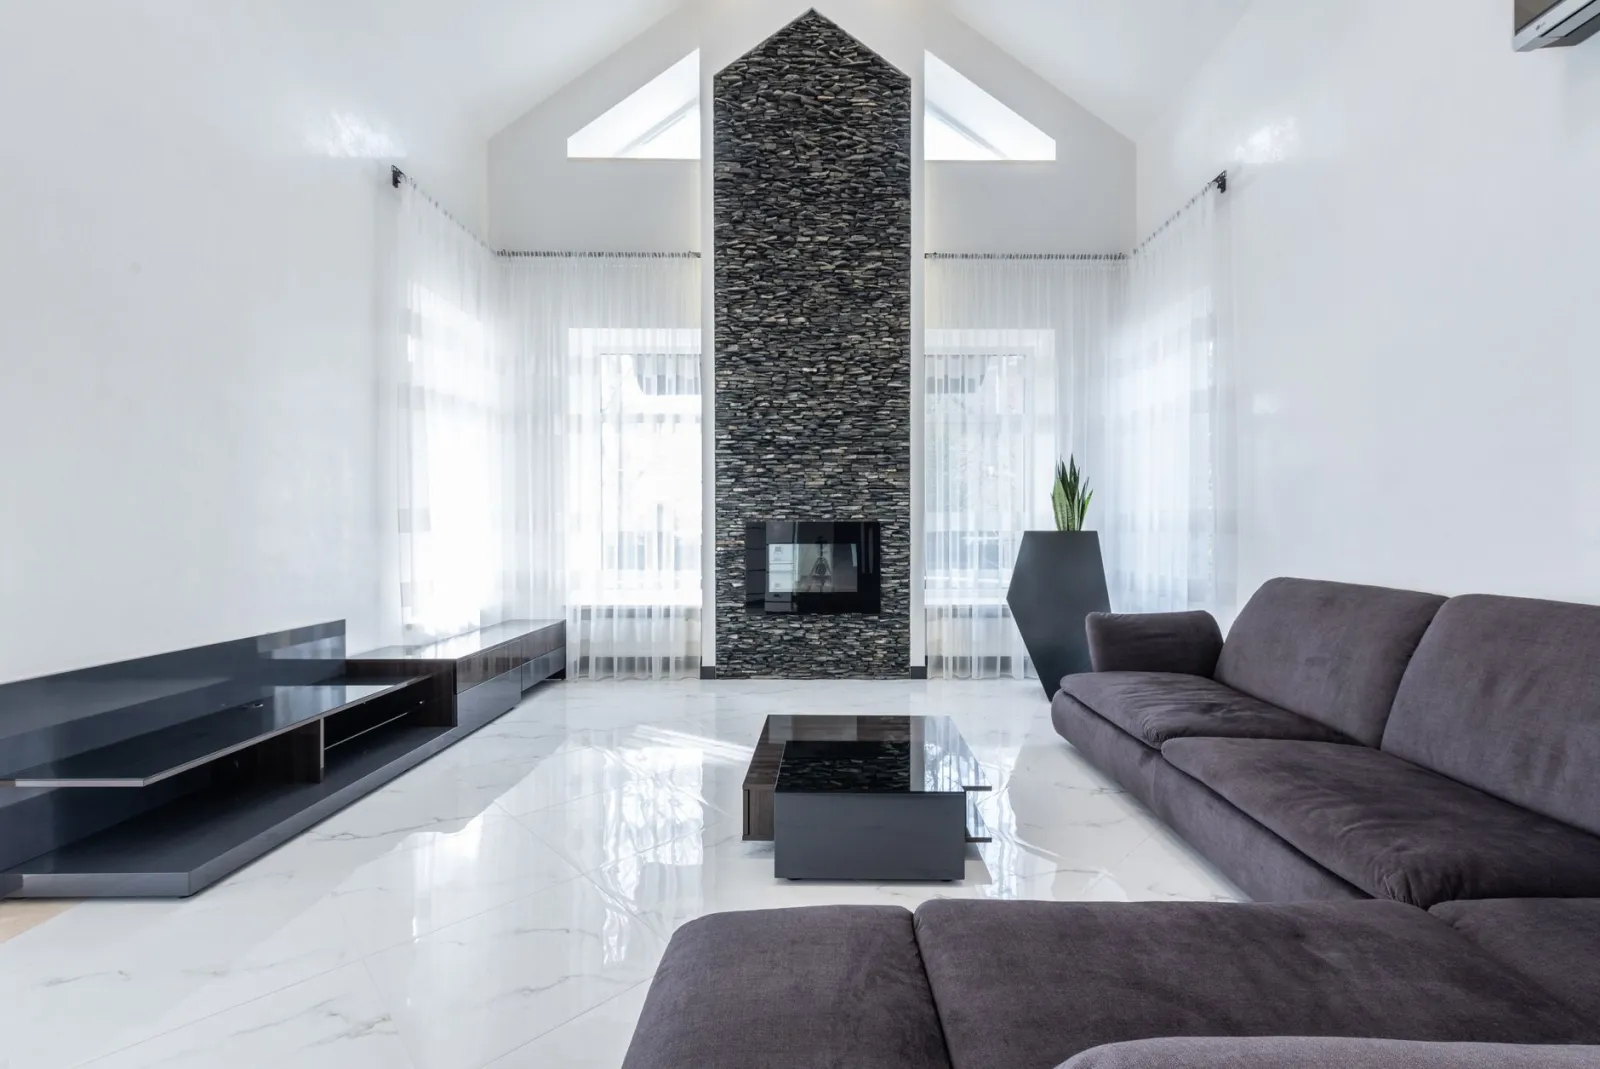
Here’s a concrete example worth picturing. A living room with a redundant chimney breast on one wall: the breast is capped and vented, a slim electric fireplace is set into a new framed opening at seated eye level, and shallow alcove cupboards are built either side to house the router, consoles, and cables. The television then mounts on the breast above the fire. Nothing is wasted, and the original architecture does half the work.
Before any framing, confirm what your fire actually needs. Manufacturers publish minimum clearances to combustibles above, beside, and below the appliance, plus the required depth for recessing. Those numbers are non-negotiable — they are the difference between a clean build and a failed inspection or a scorched shelf.
Get the TV height and viewing distance right
Above a fireplace, screens creep upward almost by default. The result is the classic “front row at the cinema” neck ache. Aim for the centre of the screen to sit roughly at seated eye level — around 100–110 cm from the floor for most adults on a standard sofa. If the fire’s clearance zone forces the TV higher, compensate by tilting the bracket slightly downward and keeping the sofa a little further back.
Viewing distance matters just as much as height. A useful rule of thumb: sit about 1.2 to 1.5 times the screen’s diagonal measurement away from it. For a large screen, that means a sofa positioned well across the room, not tucked against the opposite wall.
Consider a real scenario: a narrow Victorian terrace living room where the chimney breast sits off-centre. Mounting the TV directly above the fire puts the screen at an awkward angle to the main seating. The practical fix is to keep the fire on the breast but run the screen on an adjustable arm, or to build the surround so the fire is offset and the TV sits centred on the seating wall. Small rooms reward this kind of flexibility far more than grand plans do.
Depth is the other quiet trap. A deep media console pushes the screen forward, so measure the unit’s depth plus the bracket’s reach before committing — otherwise the TV ends up hovering over the hearth with cables dangling beneath it.
Plan the structure, storage, and cable route together
Cables are the detail that separates a polished wall from a tangle. Decide the route before the boards go on: a dedicated channel behind the panelling from screen height down to a power point and media shelf, with a drawstring left in place for future additions. If you’re building around an existing chimney breast, the alcoves either side make natural homes for equipment — just keep ventilation gaps so devices don’t cook in a closed cupboard.
Structure follows function. A simple comparison helps clarify the trade-offs:
| Approach | Best for | Watch out for |
|---|---|---|
| Framed built-in surround | Clean, seamless look; hiding cables and equipment | Fixed once finished; needs accurate clearance planning |
| Console with integrated electric fireplace | Quick installs, renters, changing layouts | Limited storage depth; check the unit’s heat clearances |
| Chimney breast with alcove joinery | Period homes; maximising awkward spaces | Uneven walls; more carpentry and finishing time |
Storage should serve the room, not just the gadgets. Shallow drawers for remotes and controllers, open shelves for a soundbar or a couple of books, and a closed section for the ugly stuff. In a family living room, a low bench section at one end doubles as extra seating — a small move that pays off every time guests arrive.
Choose the fire type with your eyes open
Electric fireplaces are the most popular choice for this kind of build because they need no flue, plug into a standard socket, and let the flame run without heat. That last point is genuinely useful: you get the ambiance in July without warming the room. Most units offer adjustable thermostat settings and flame brightness, and they heat a modest open-plan space rather than a whole house. Gas and bioethanol options exist too, but each brings its own installation and ventilation requirements — worth confirming with a qualified installer before you frame anything in.
A practical observation from countless living rooms: the fire gets used far more for atmosphere than for heating. If warmth is the priority, treat the fire as a bonus and size your central heating accordingly. If ambiance is the goal, an electric fireplace with independent flame control is hard to beat for simplicity.
Frequently asked questions
How to build a TV stand around a fireplace?
Work in this order: confirm the fire’s clearance requirements, frame or assemble the surround to those dimensions, run a cable channel and power to a media shelf, then mount the TV at seated eye level above the clearance zone. Finish with storage either side. Building the fire first and the screen second keeps the proportions honest and the installation safe.
What are the disadvantages of electric fireplaces?
They heat a limited area rather than a whole room, the flame effect is simulated rather than real, and cheaper units can look flat up close. They also need a nearby socket, and the fan can be audible at higher heat settings. None of these are deal-breakers — they’re simply reasons to match the unit to the room rather than expect a whole-house heater.
What are the pros and cons of a TV fireplace wall?
Pros: a single focal point, tidy cable management, combined storage, and year-round ambiance. Cons: screens placed too high cause neck strain, heat clearances restrict layout options, and the build is harder to change once finished. Plan the height and clearances carefully and most of the cons disappear.
The bottom line
Yes, you can absolutely build a TV stand around a fireplace — and doing it well comes down to sequence. Fire first, clearances second, screen height third, cables throughout. Get those four right and the storage, finishes, and styling fall into place almost on their own. Get them wrong and no amount of beautiful tiling will rescue the layout.
Start by measuring your wall, checking the fire’s published clearances, and marking the seated eye level on the wall with tape. That single piece of tape will tell you more about your design than any mood board. For the wider picture — surround styles, materials, and how to plan a full media wall from scratch — a more complete guide on the general theme is worth reading next.